Project 4A: Image Warping and Mosaicing
Overview
In the first part of this project I project images via homography transformations to each other and apply multi-resolution blending in order to create panoramas out of separate photos.
Mandatory Linear Algebra
Given 2 images and sets of correspondence points p' and p, we want to compute the homography matrix H such that p'=Hp. We can then apply H to the original image to get the transformed image, although for practical purposes it's better to perform an inverse warp by applying H^{-1} to points in the output and interpolating with pixels from the original image. A homography matrix has 8 degrees of freedom, which requires 4 point correspondences to specify fully. In practice, using only 4 points is a bit unreliable, so I opt to use ~8-20 points and use least squares to solve for the homography matrix
The homography transform is given by the following, with x and y being points within the original image and x' and y' being points within the image warped by the homography:

In order to solve this system via least squares, through a lot of algebra we can rewrite this in the form Ah=b, where A is a matrix, b, are a vector of the stacked output points, and h is a vector of the coefficients of the homography matrix we want to solve for. w is explicitly given as gx+hy+1 from the formula above, however in practice when we warp using homographies we can just normalize by the z component (dividing the transformed x and y coordinates by w to get the true x' and y'). For multiple correspondence points, we stack the additional rows to the b vector and A matrix as pictured.
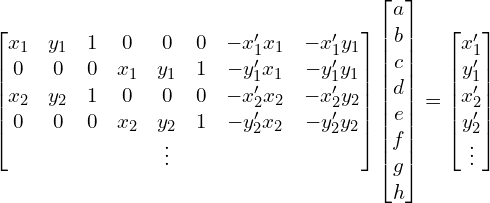
Image Rectification
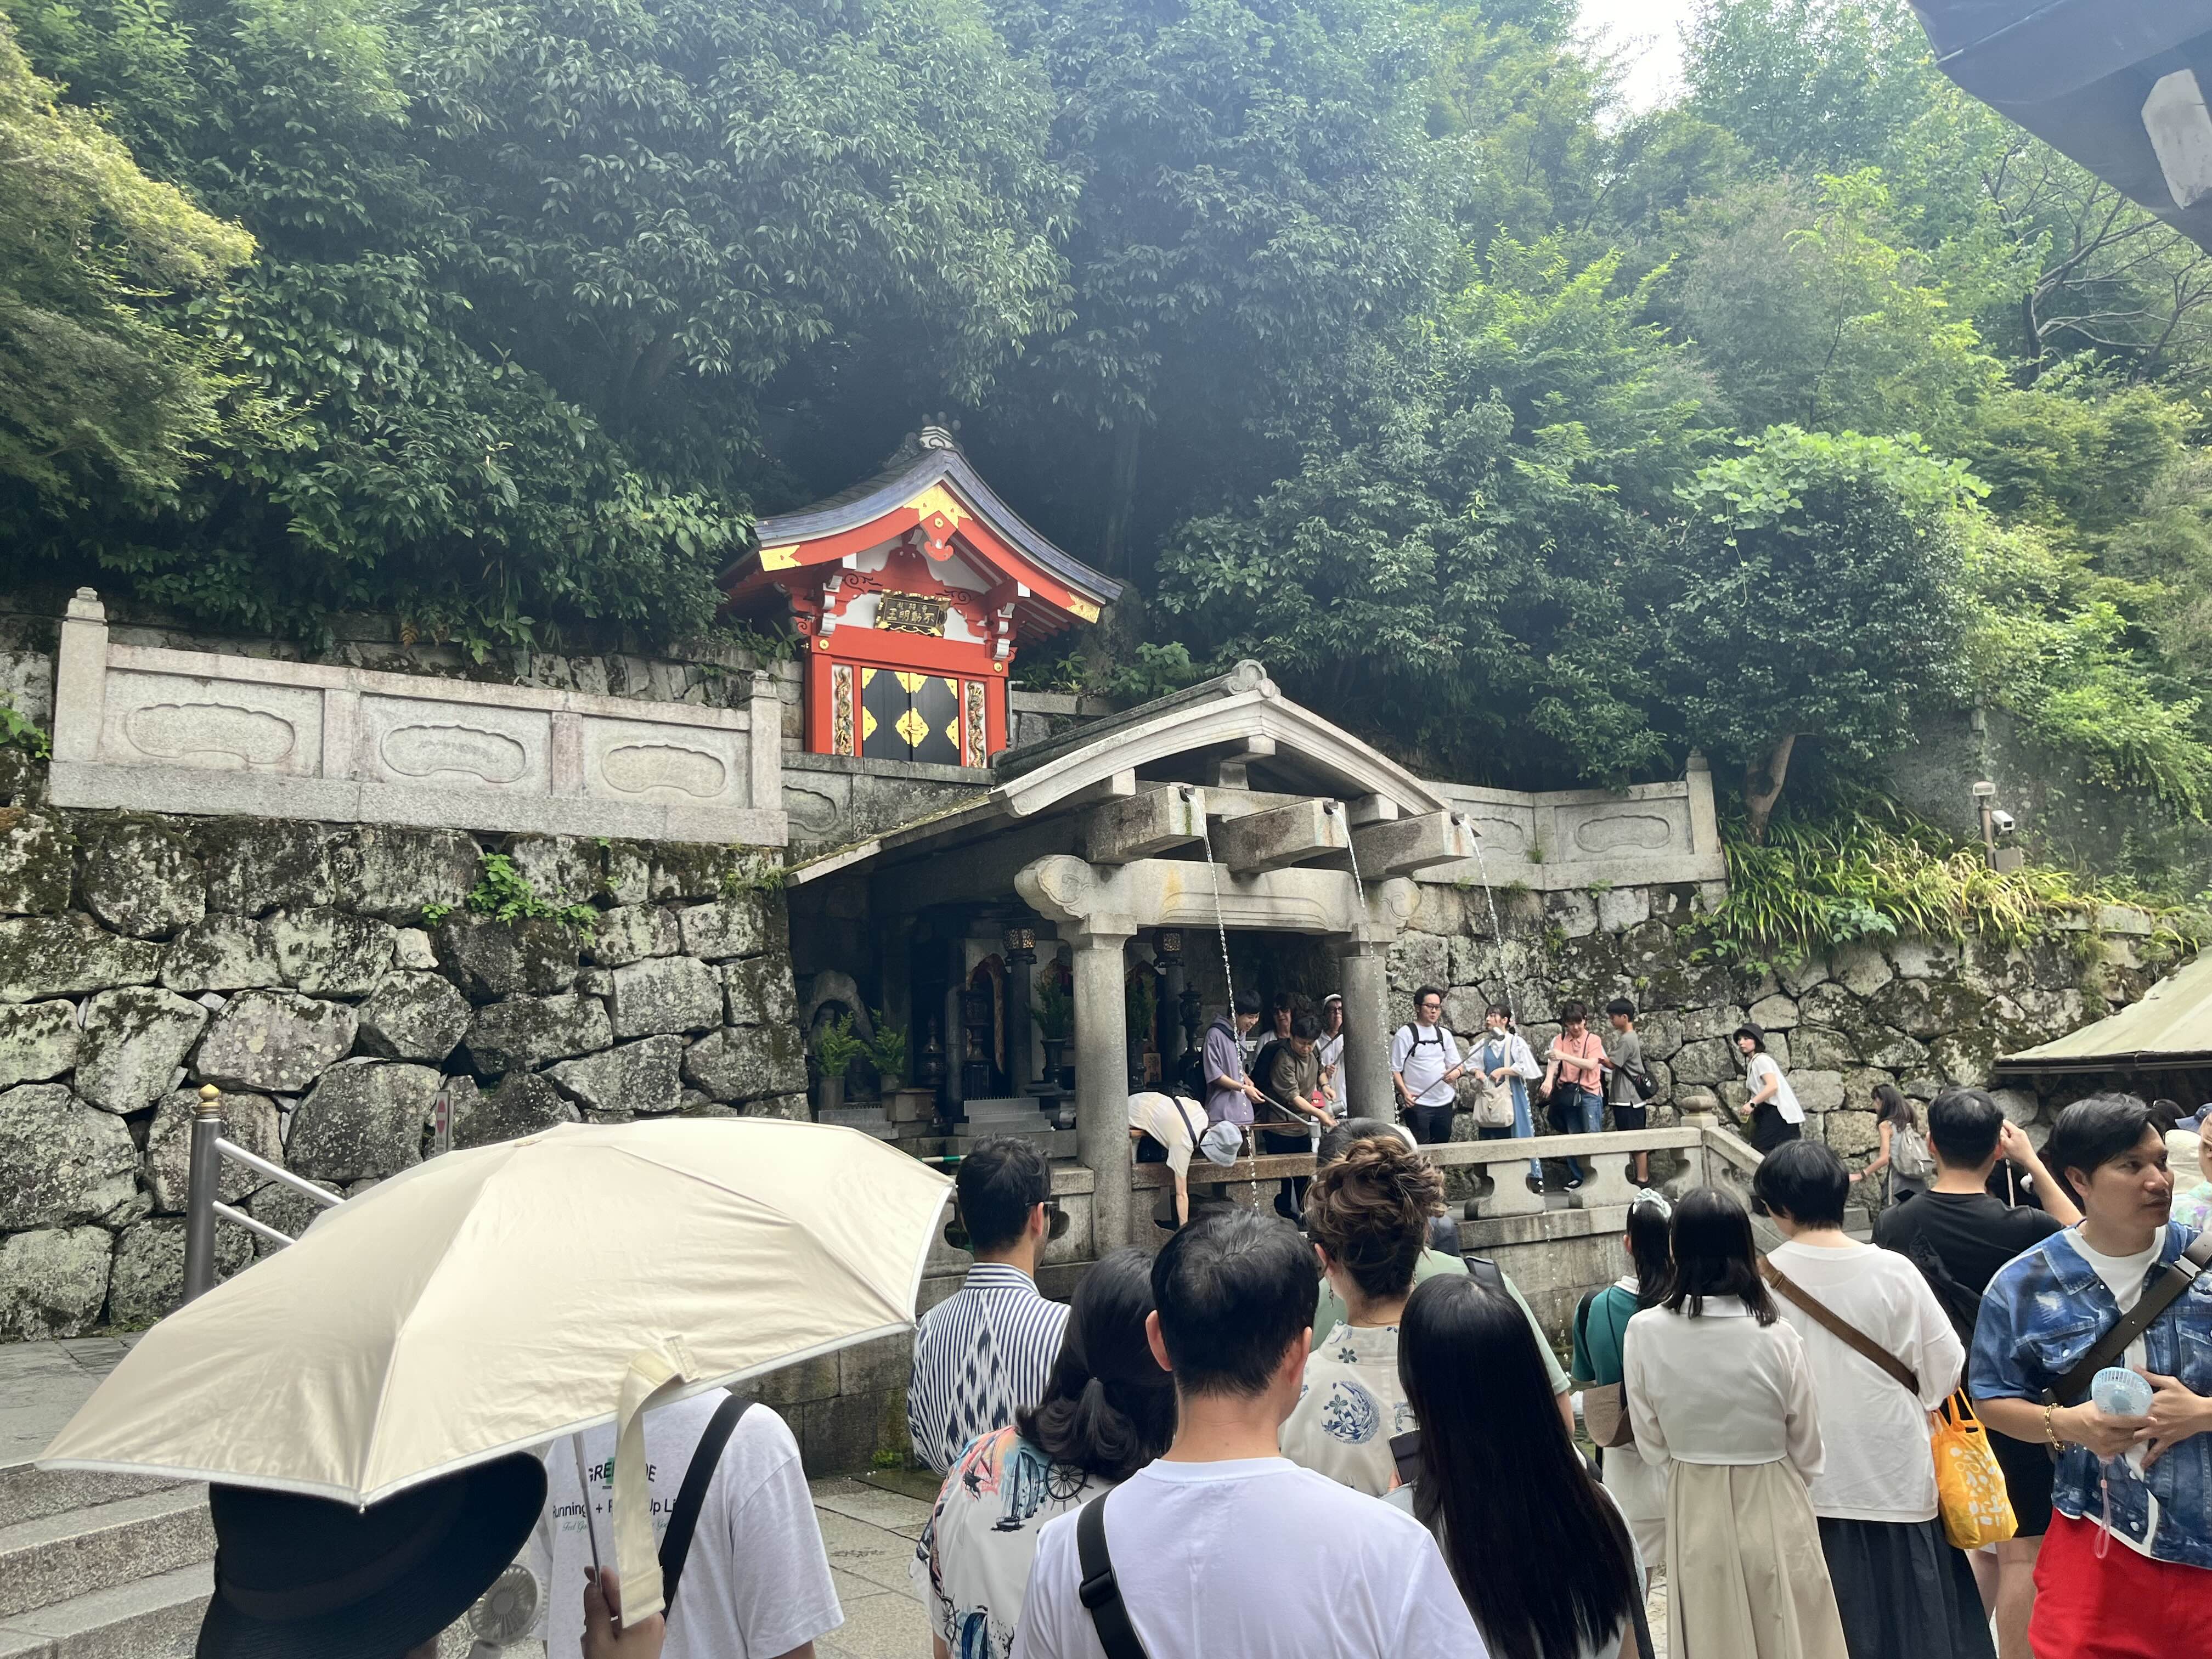
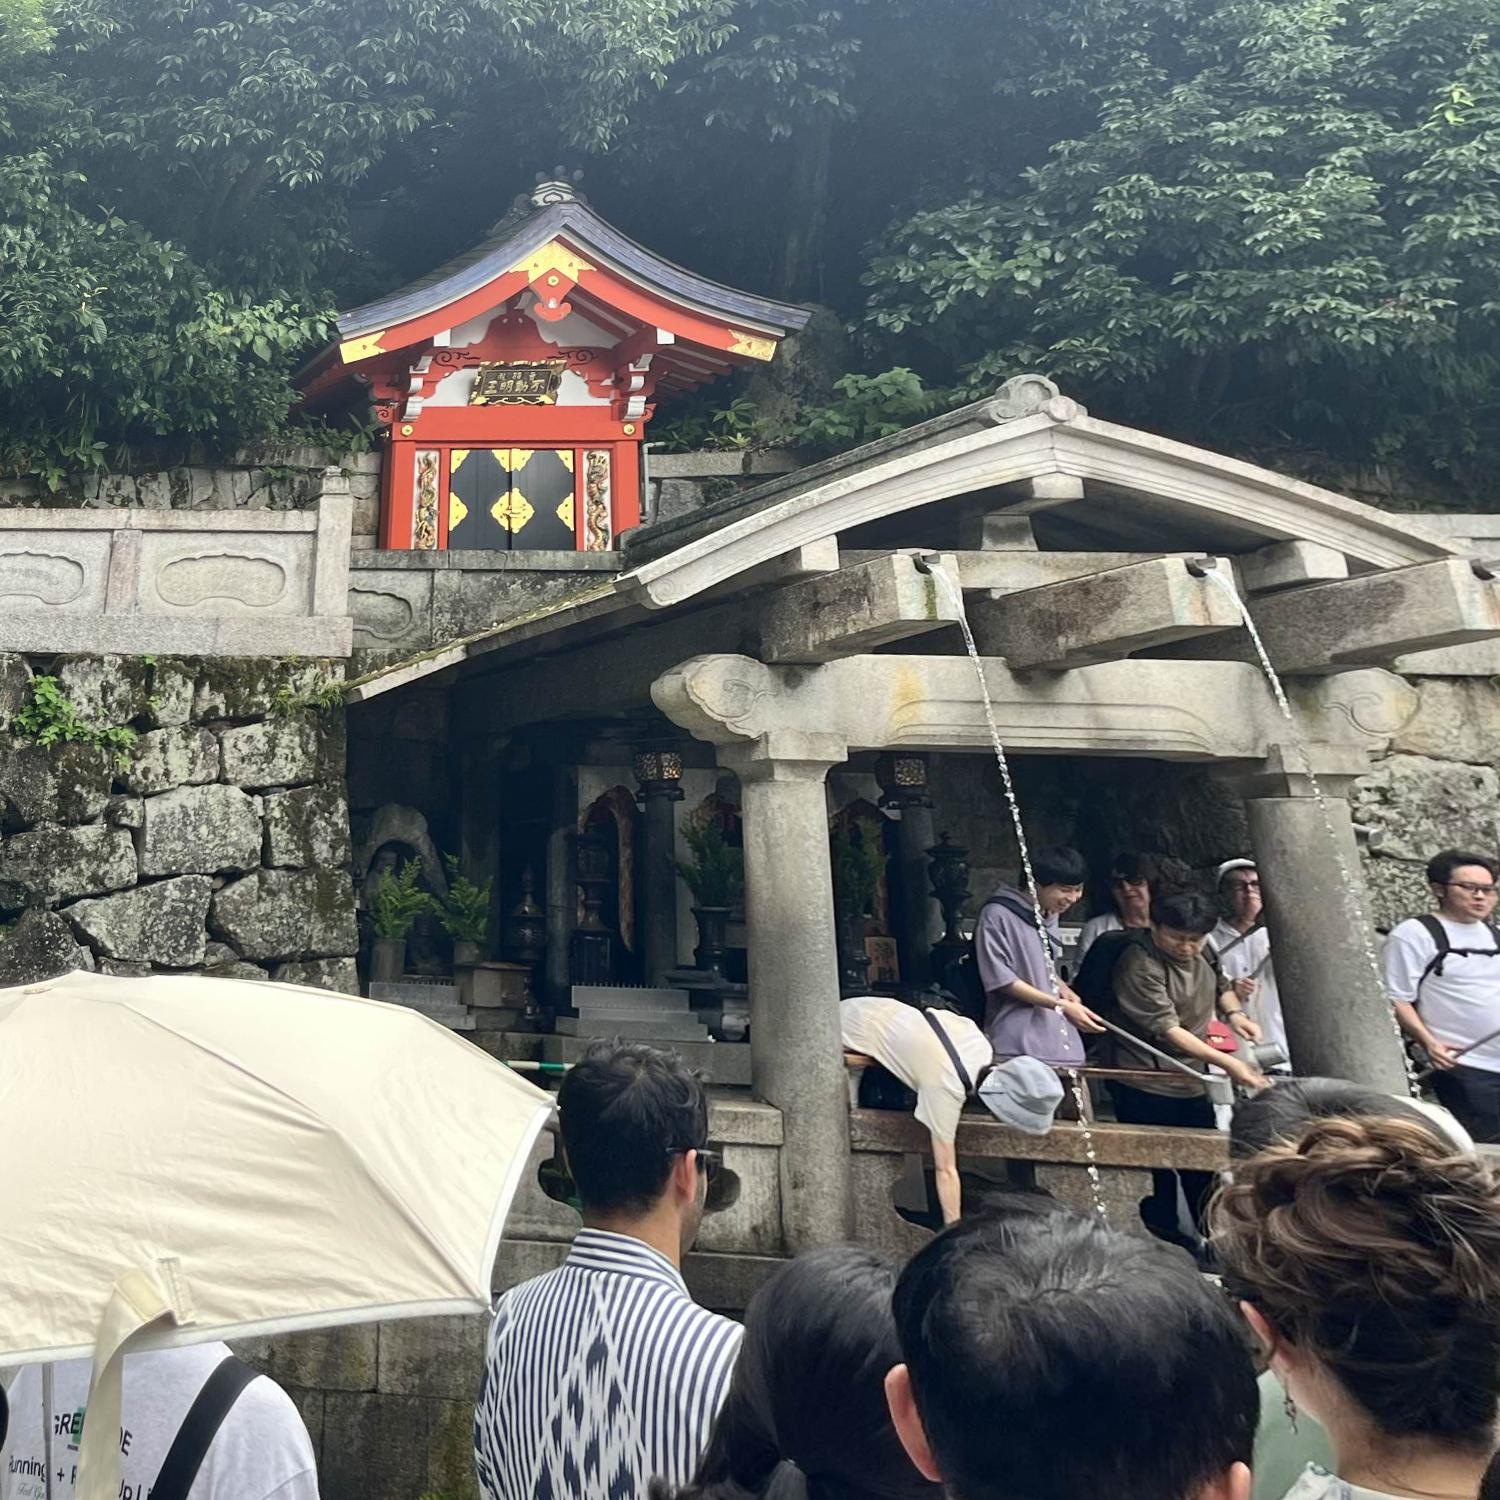
I test the efficacy of my homography warp finding code by finding a quadrilateral (which would normally appear as a rectangle when viewed from straight on) within an image transforming it to be a rectangle. This has the effect of warping the images so that they appear to be viewed from straighter on
In order to warp the images, I compute the inverse of the affine transformation matrix between each triangle in the original image and the corresponding triangle in the average shape. I then perform inverse warping with this matrix, performing bilinear interpolation in the case that the inverse transformation warps values between pixels, and iterate over all triangles to produce the warped image.

Panoramal Activity
Now with a working homography finder, we can warp feature points between images so that they all are aligned on the same imaging plane. For now, these feature points are manually selected. In order to align these images, I take the difference between the centroids of the feature points of each image to find the relevant translation, and do some geometry to find what the final output image size should be. The last step is to blend these images together smoothly, which I do using the multi-resolution developed in Project 2.
Finding an Alpha Mask
In order to find the alpha mask for blending, I use a mask developed from scipy's distance_transform_edt (analogous to matlab's bwdist), which calculates a distance map from the center of an image. Points are defined to belong to one image if that image's distance_transform_edt is higher than the other image (i.e. the point in question is closer to the center of that image instead of the other image).
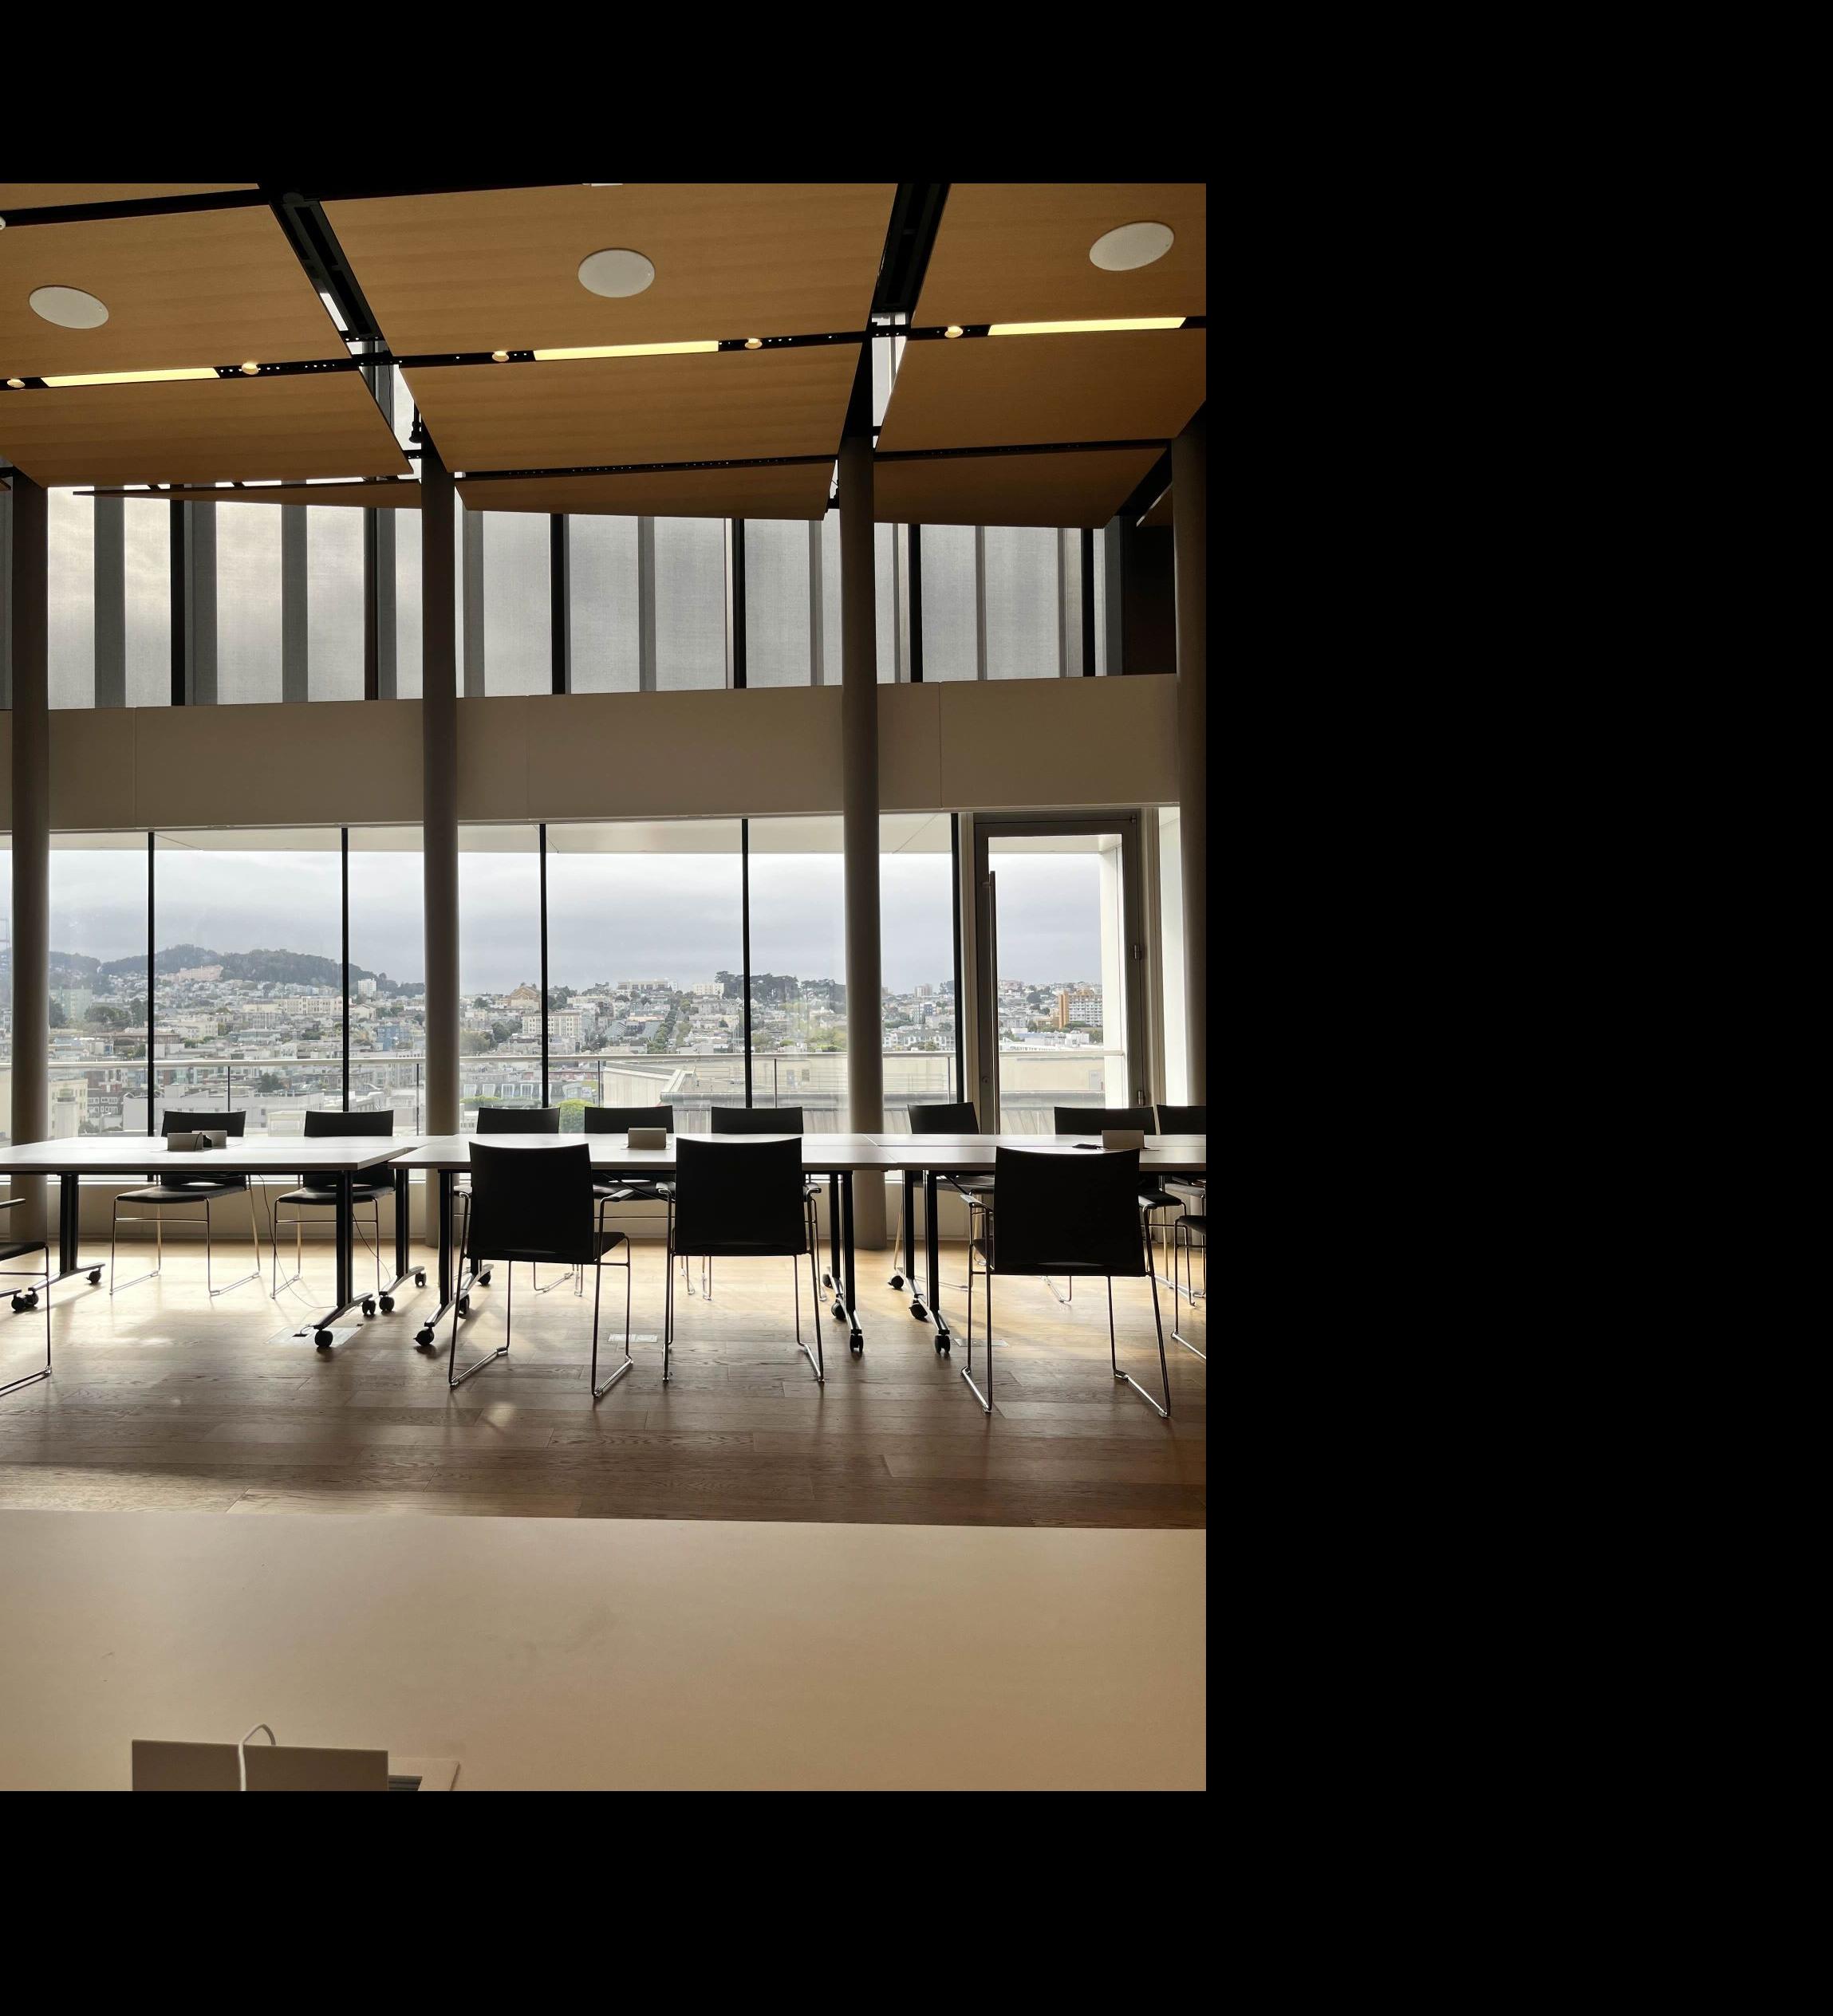
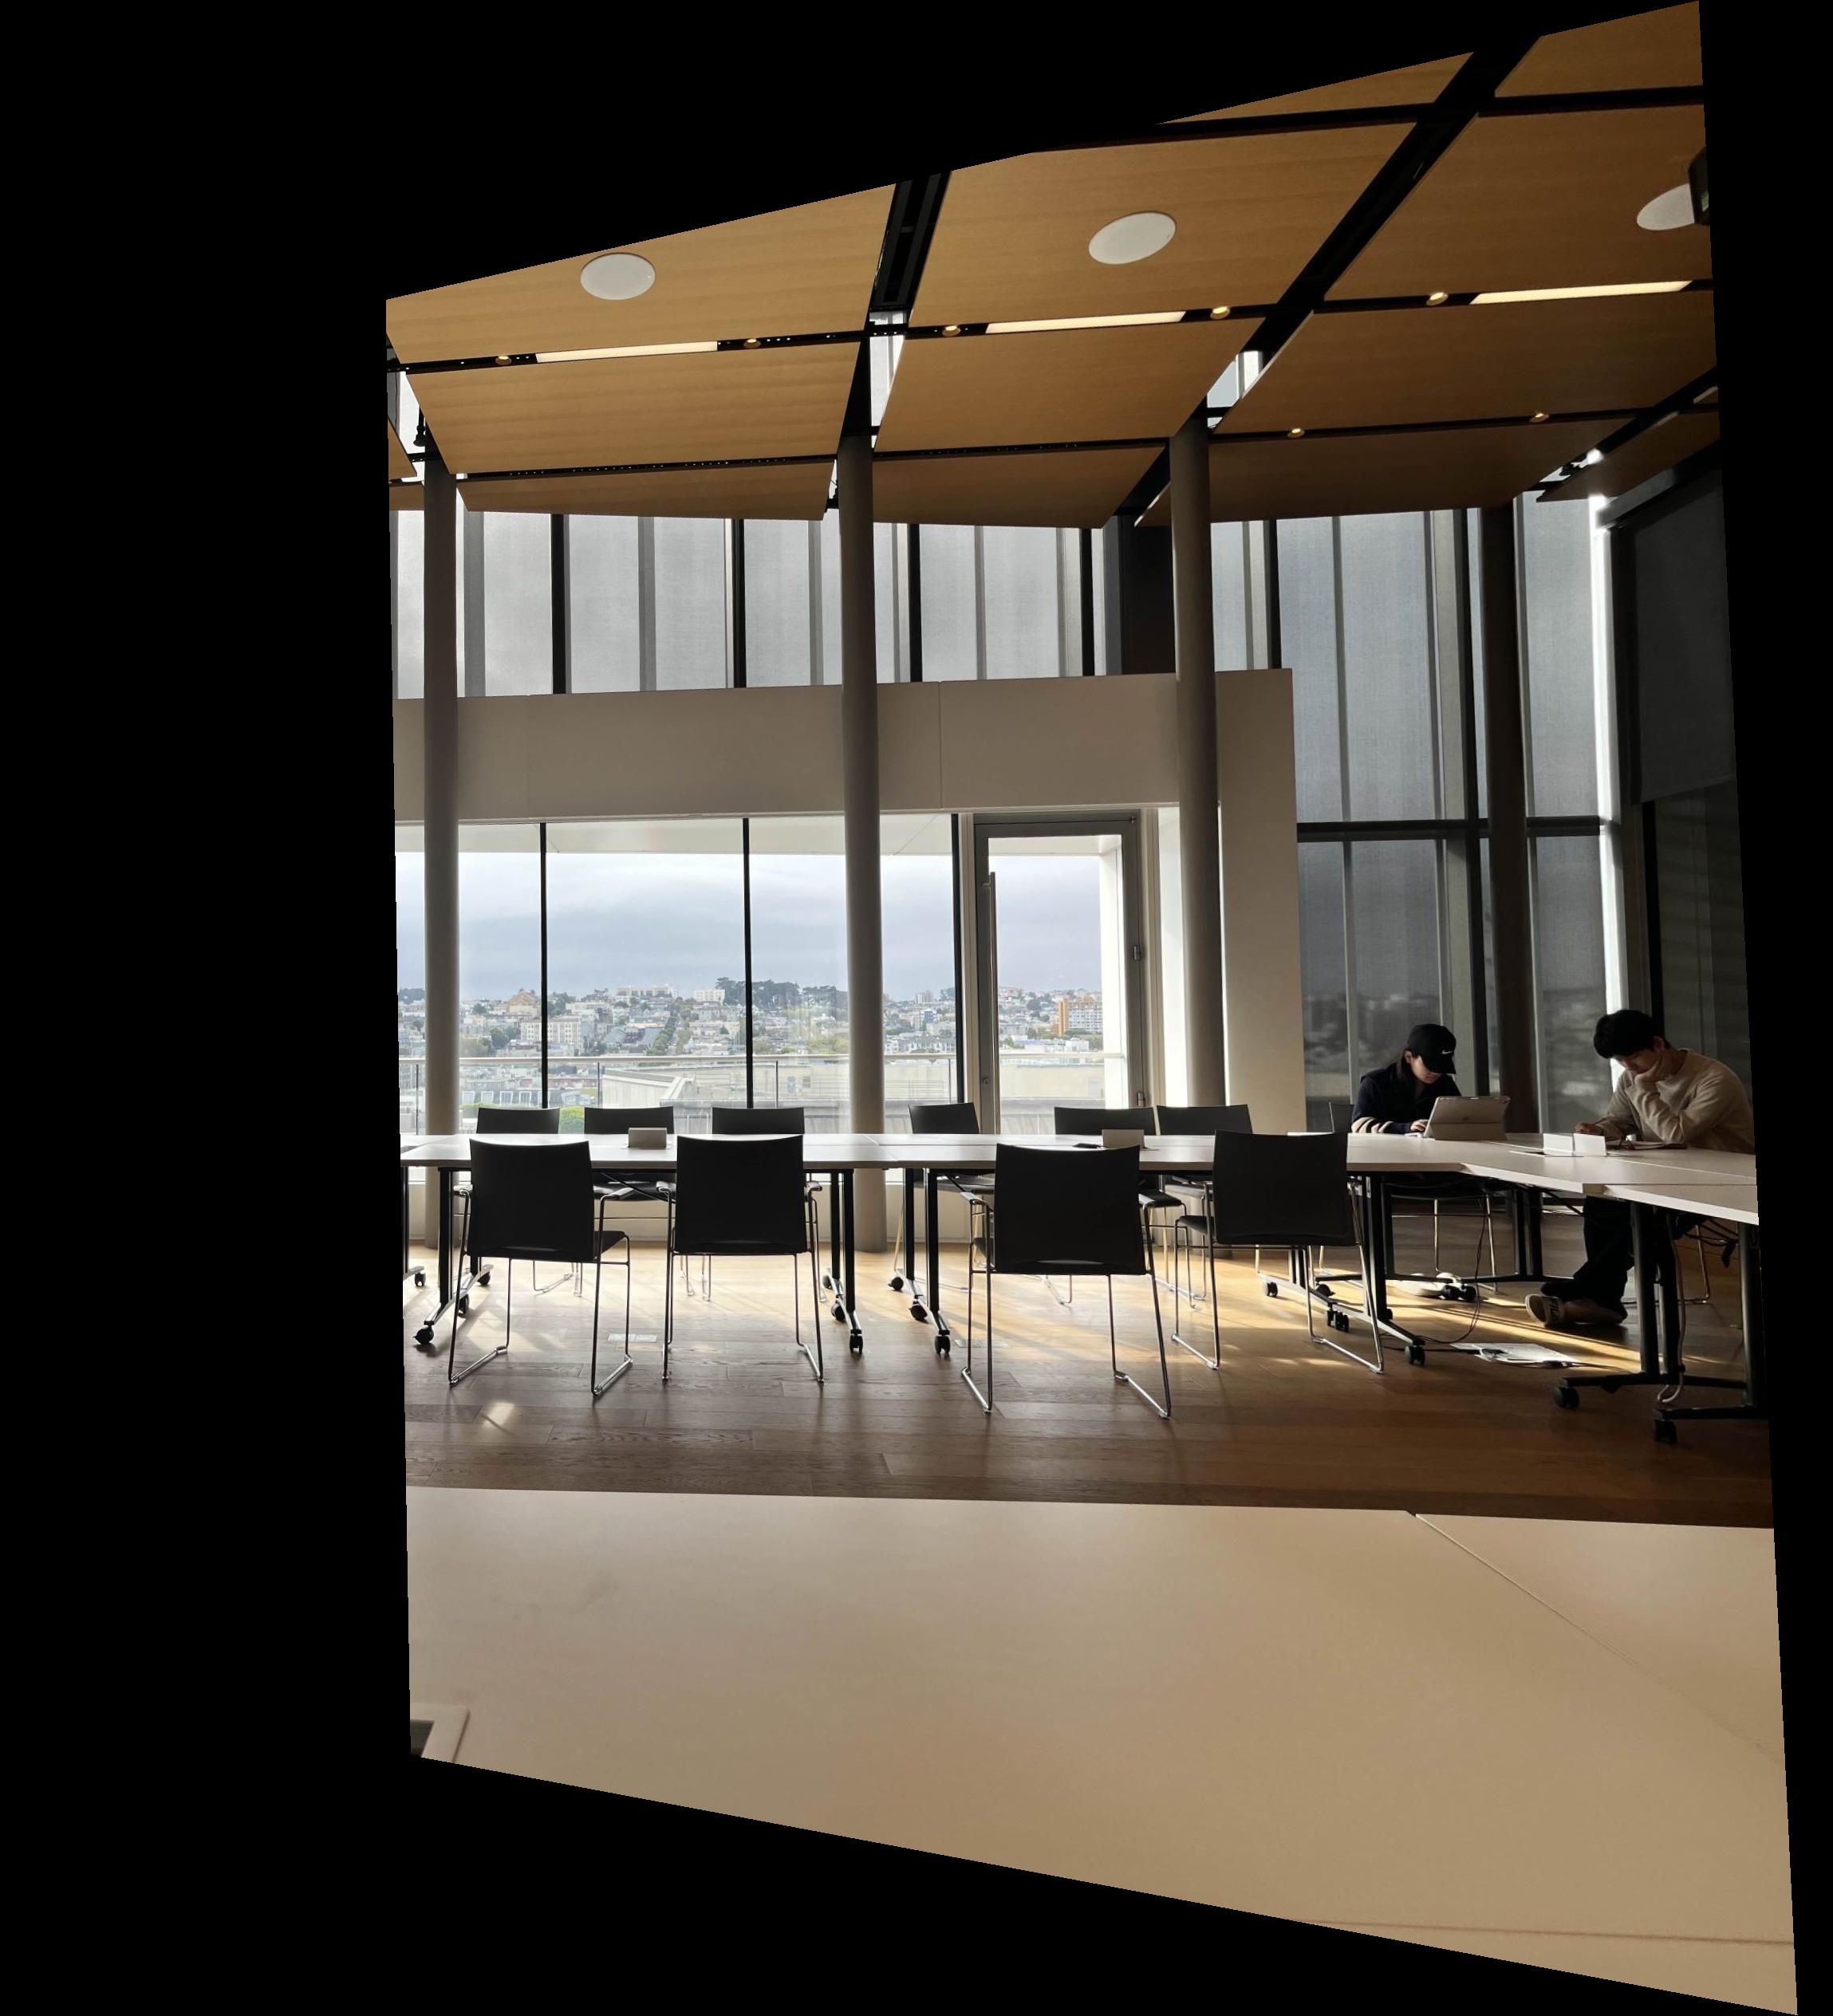

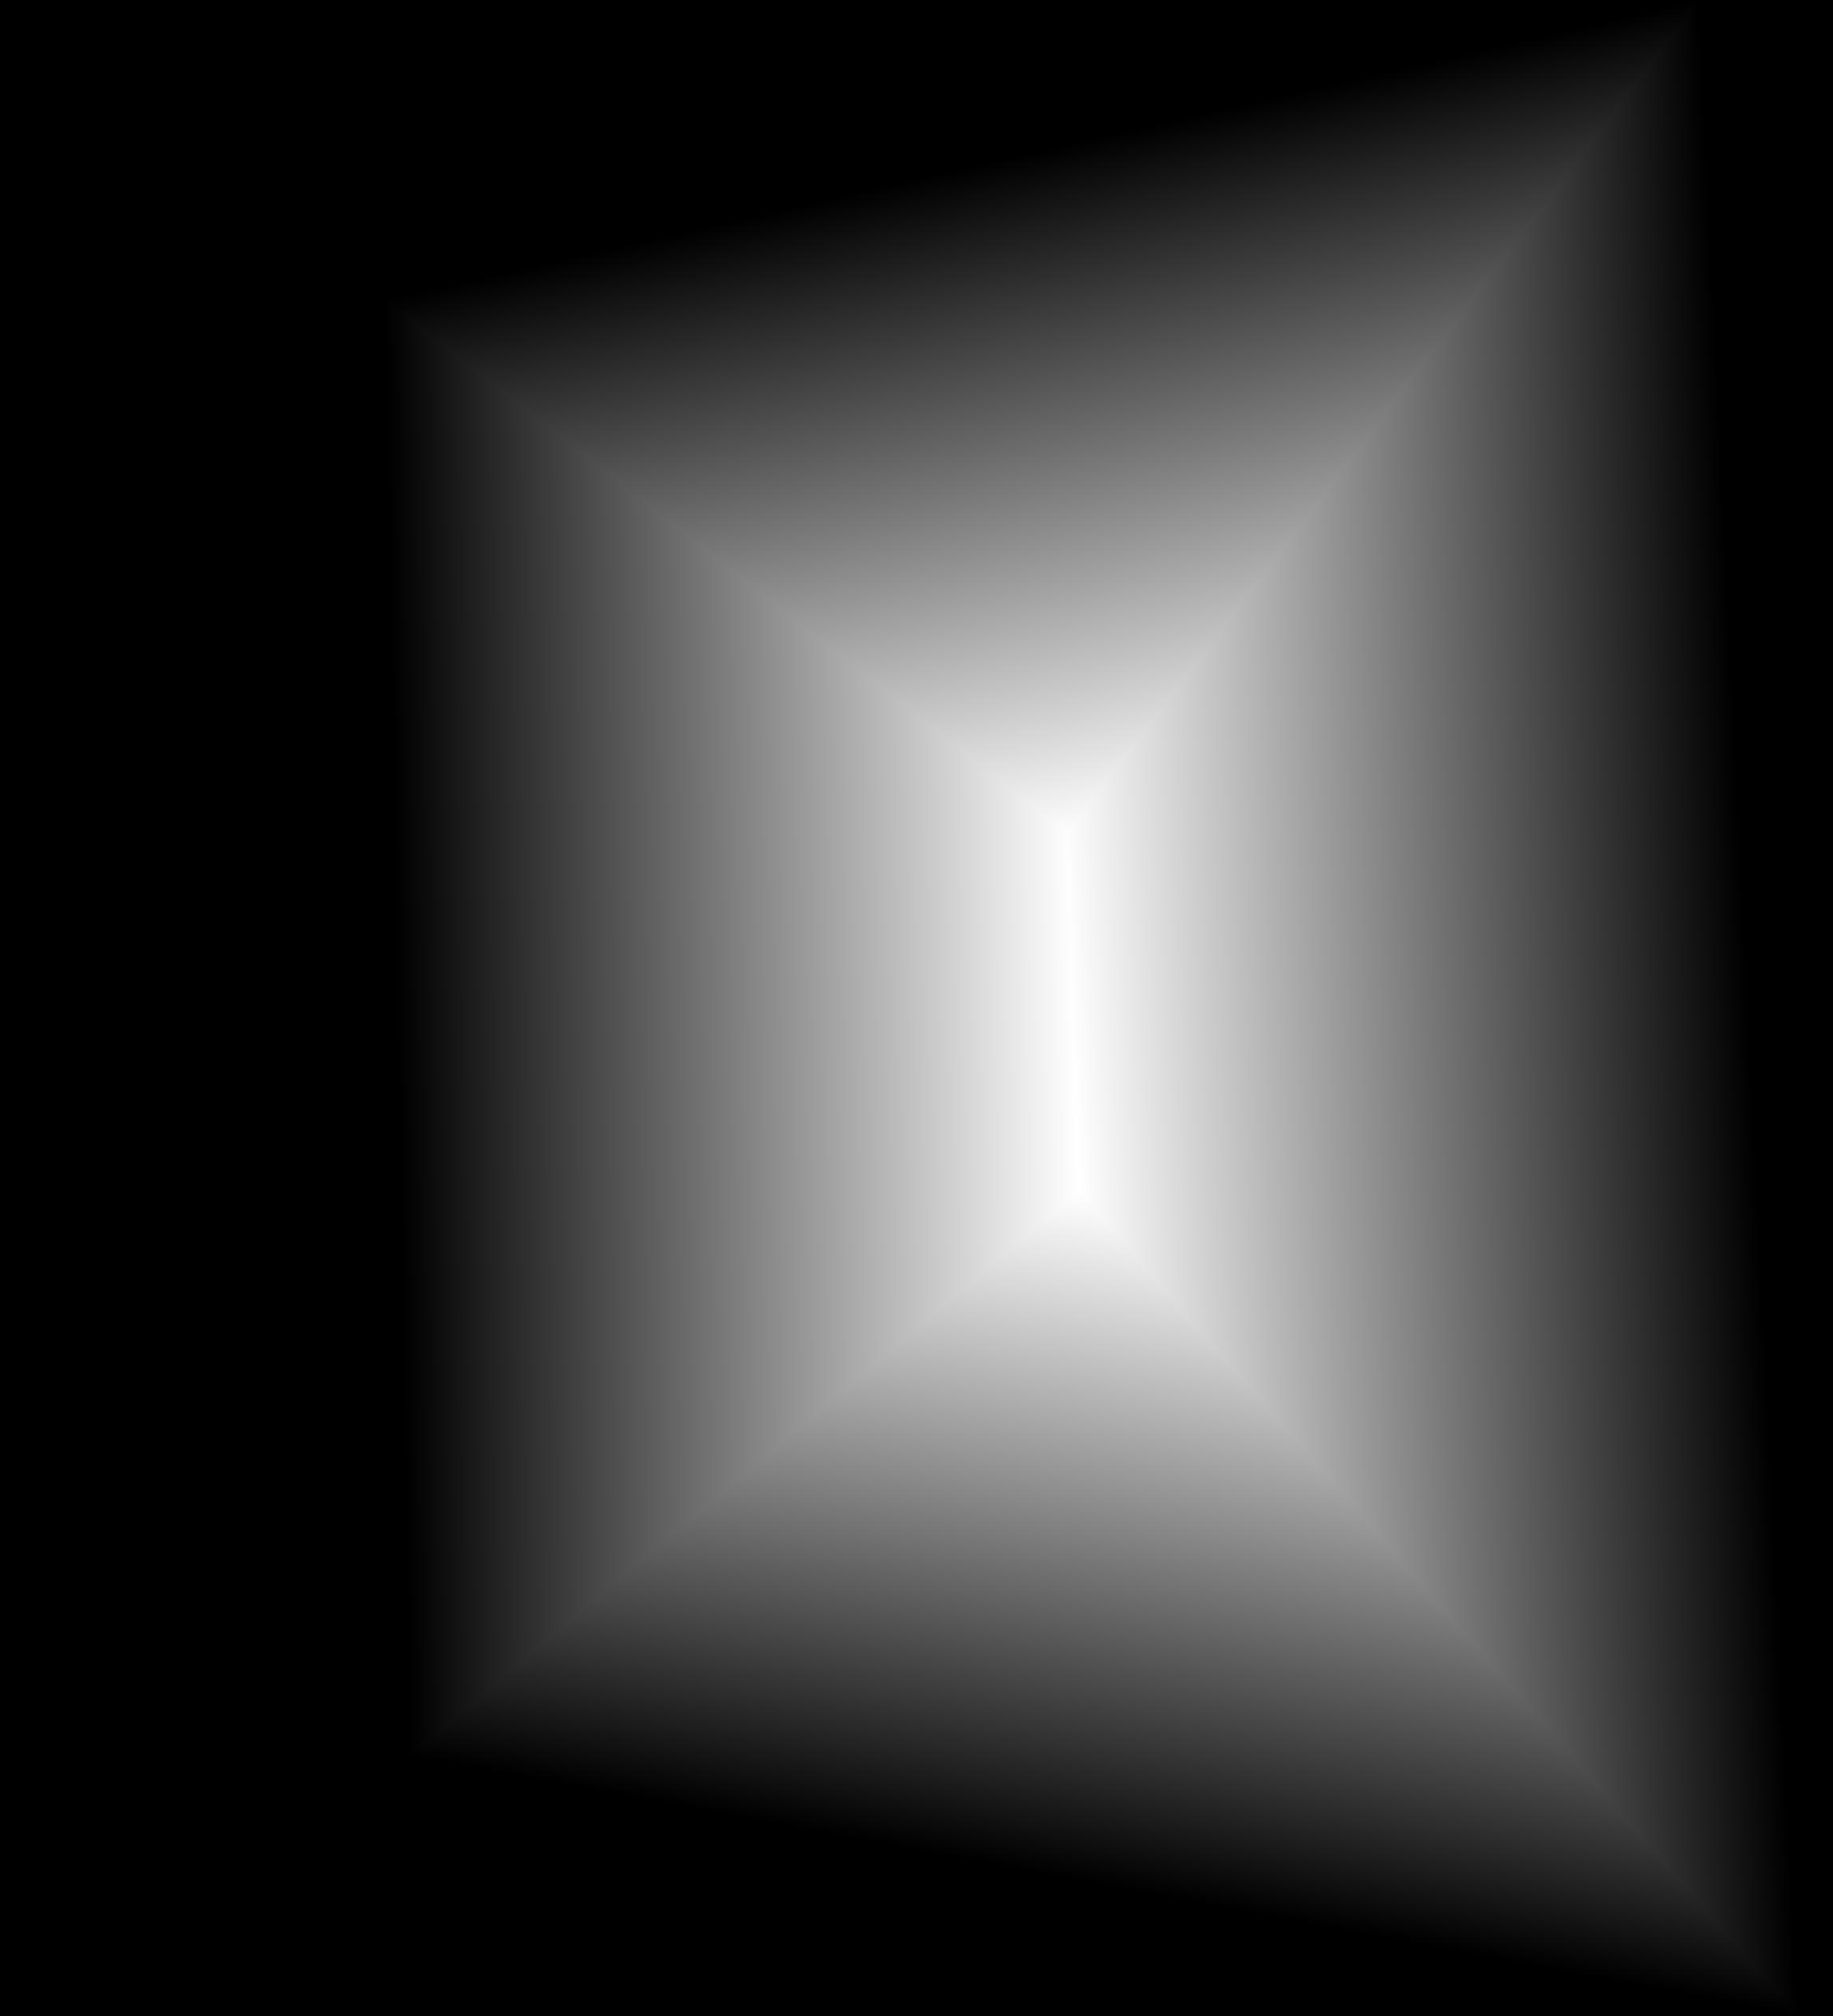

We use this mask with multi-resolution blending as pictured below.
San Francisco Conservatory of Music (SFCM)
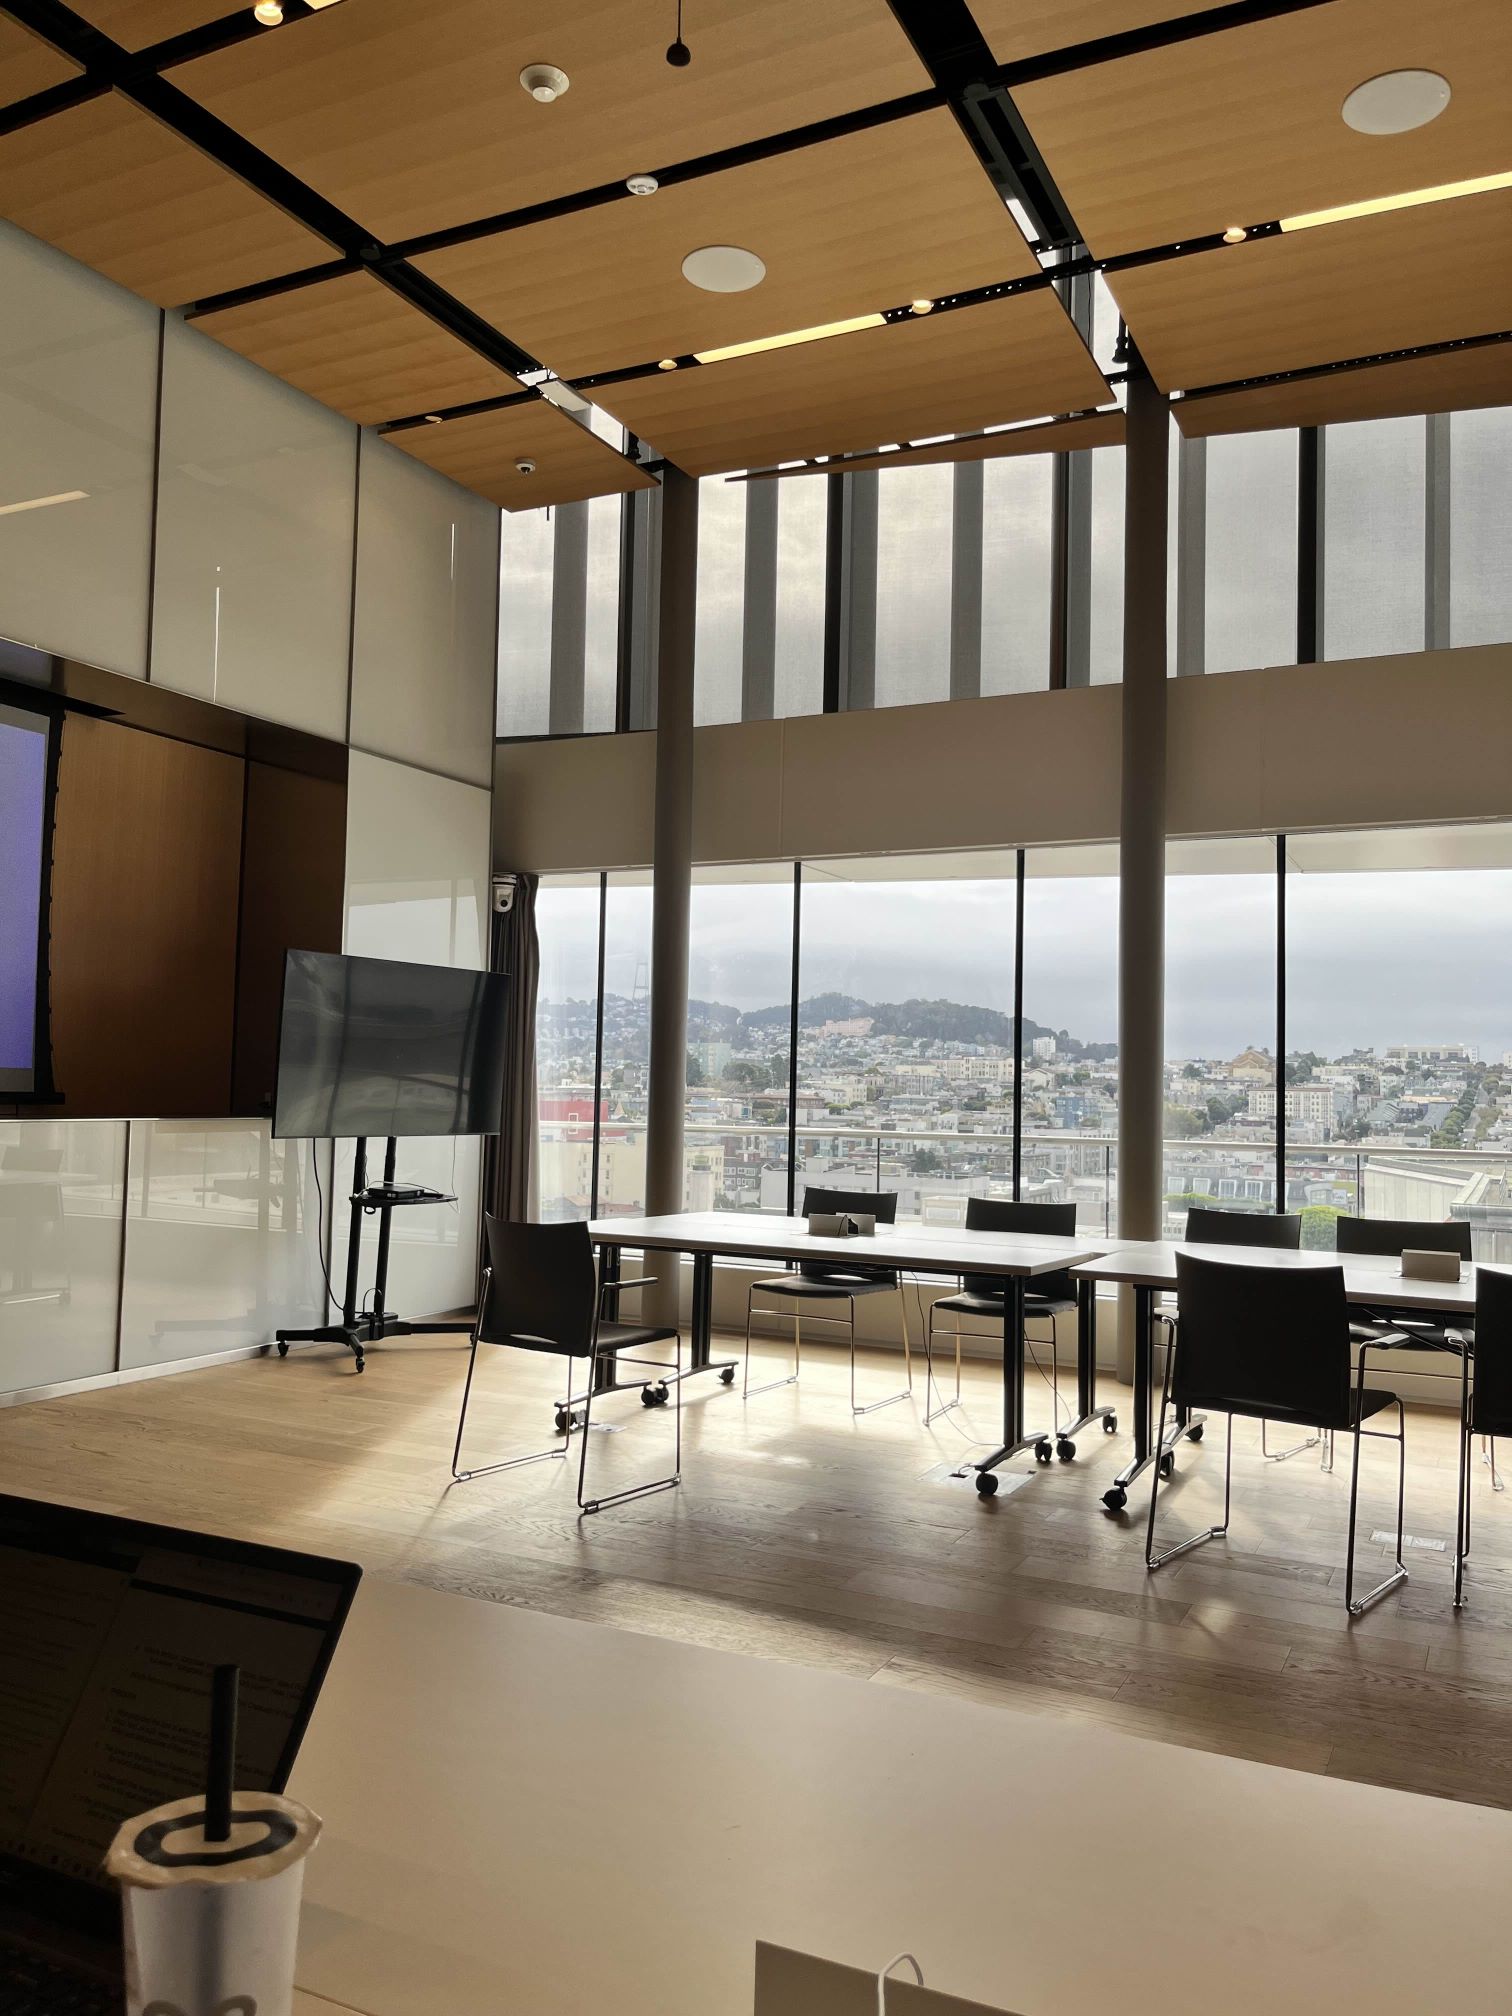
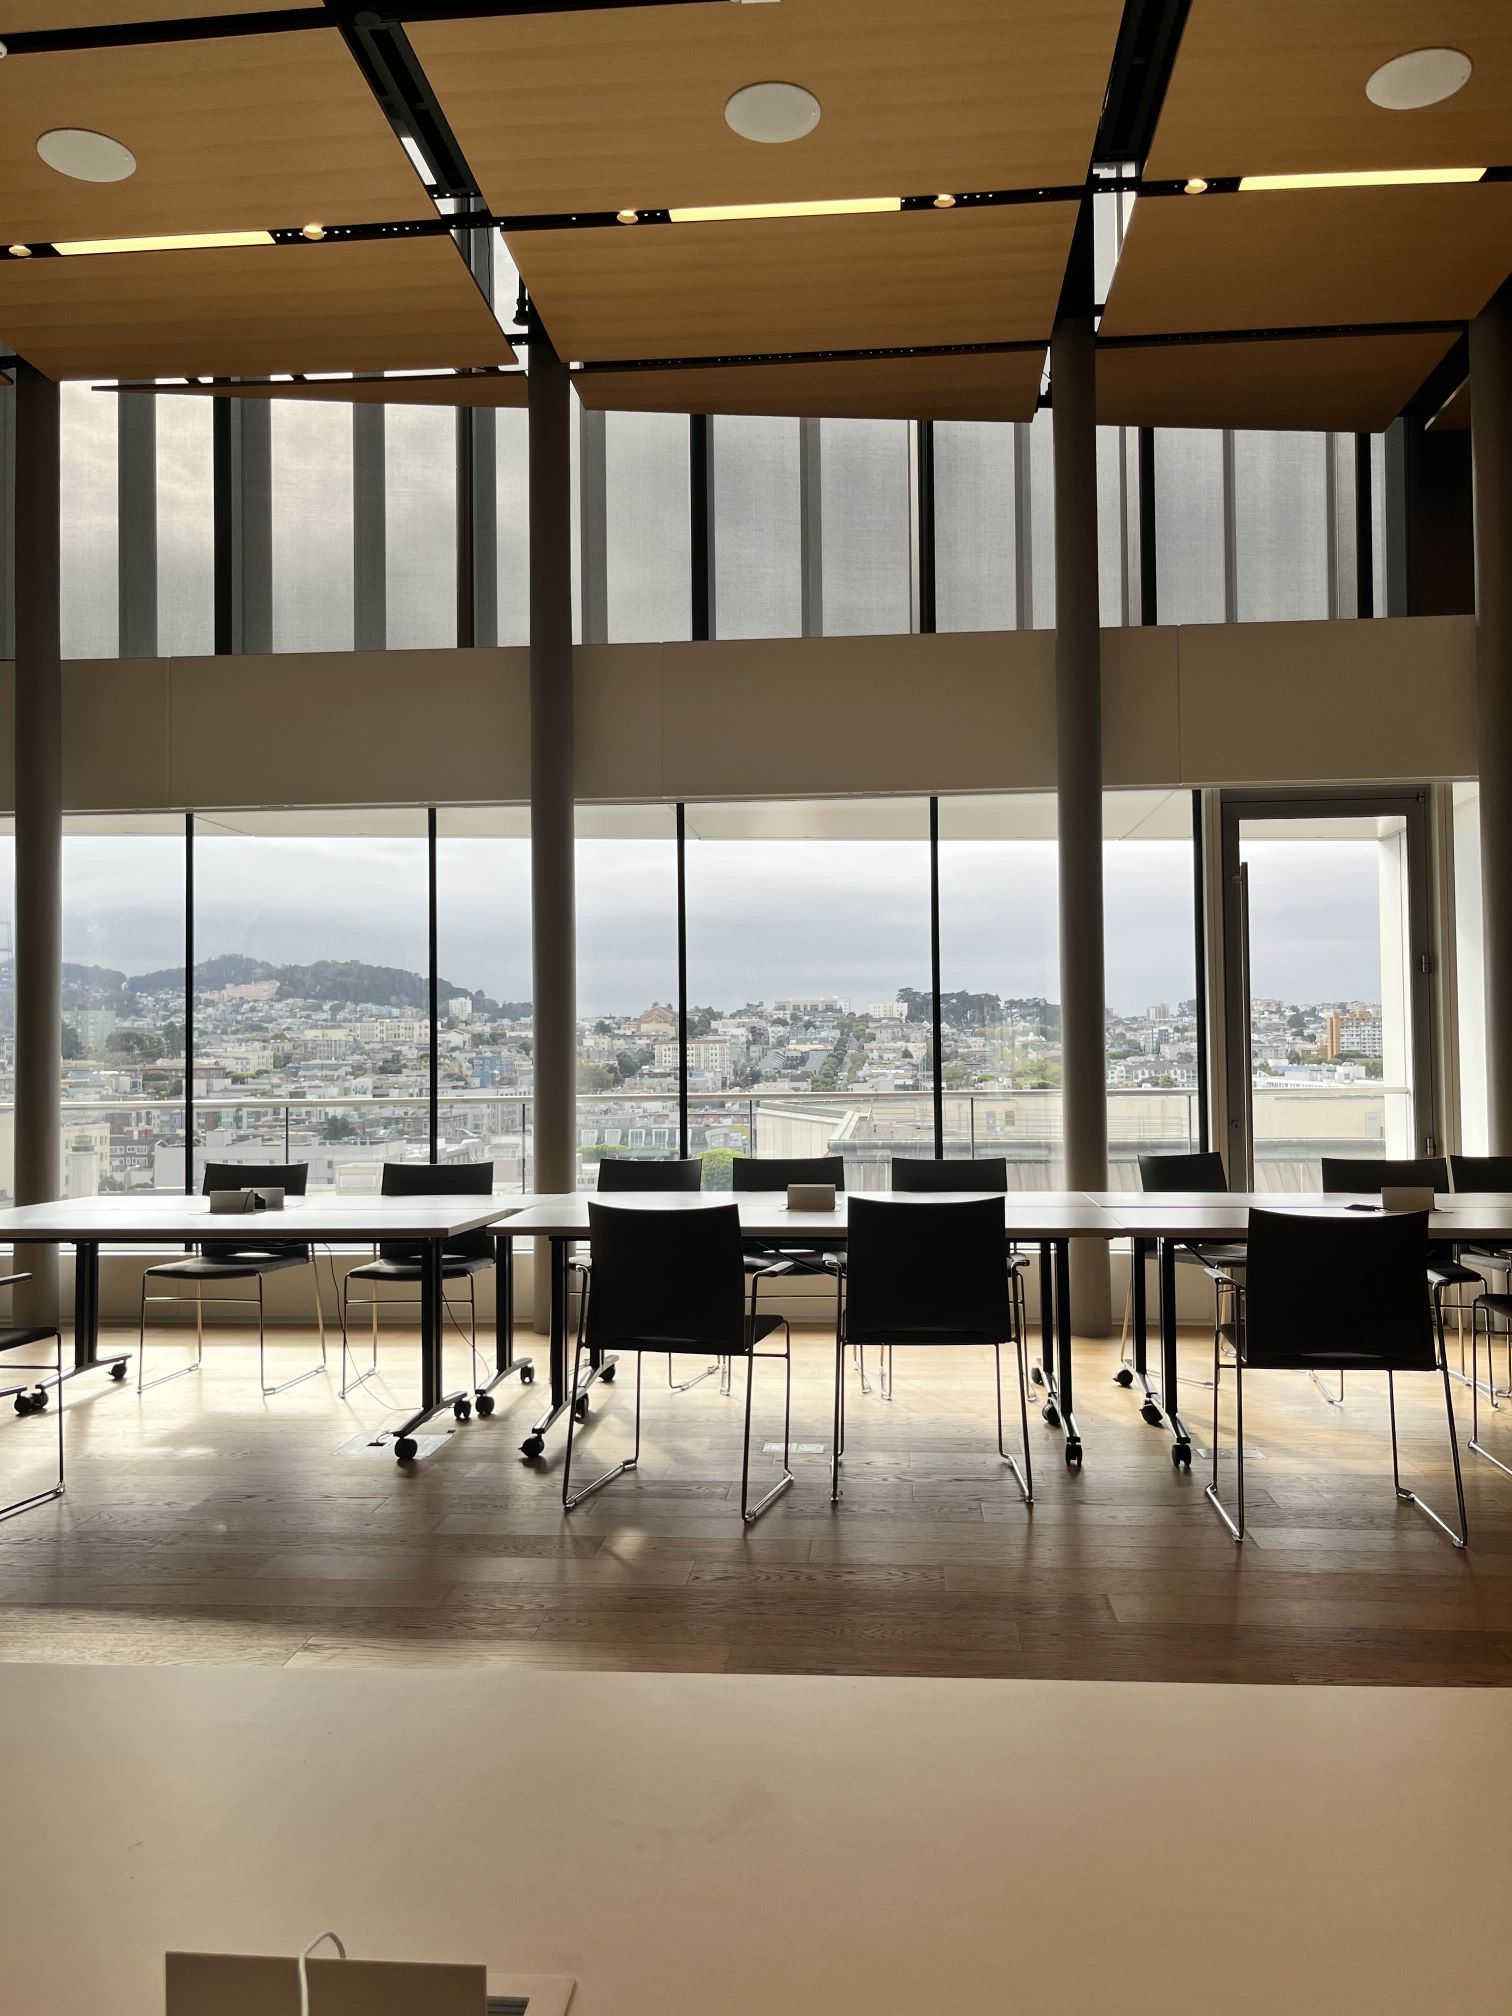
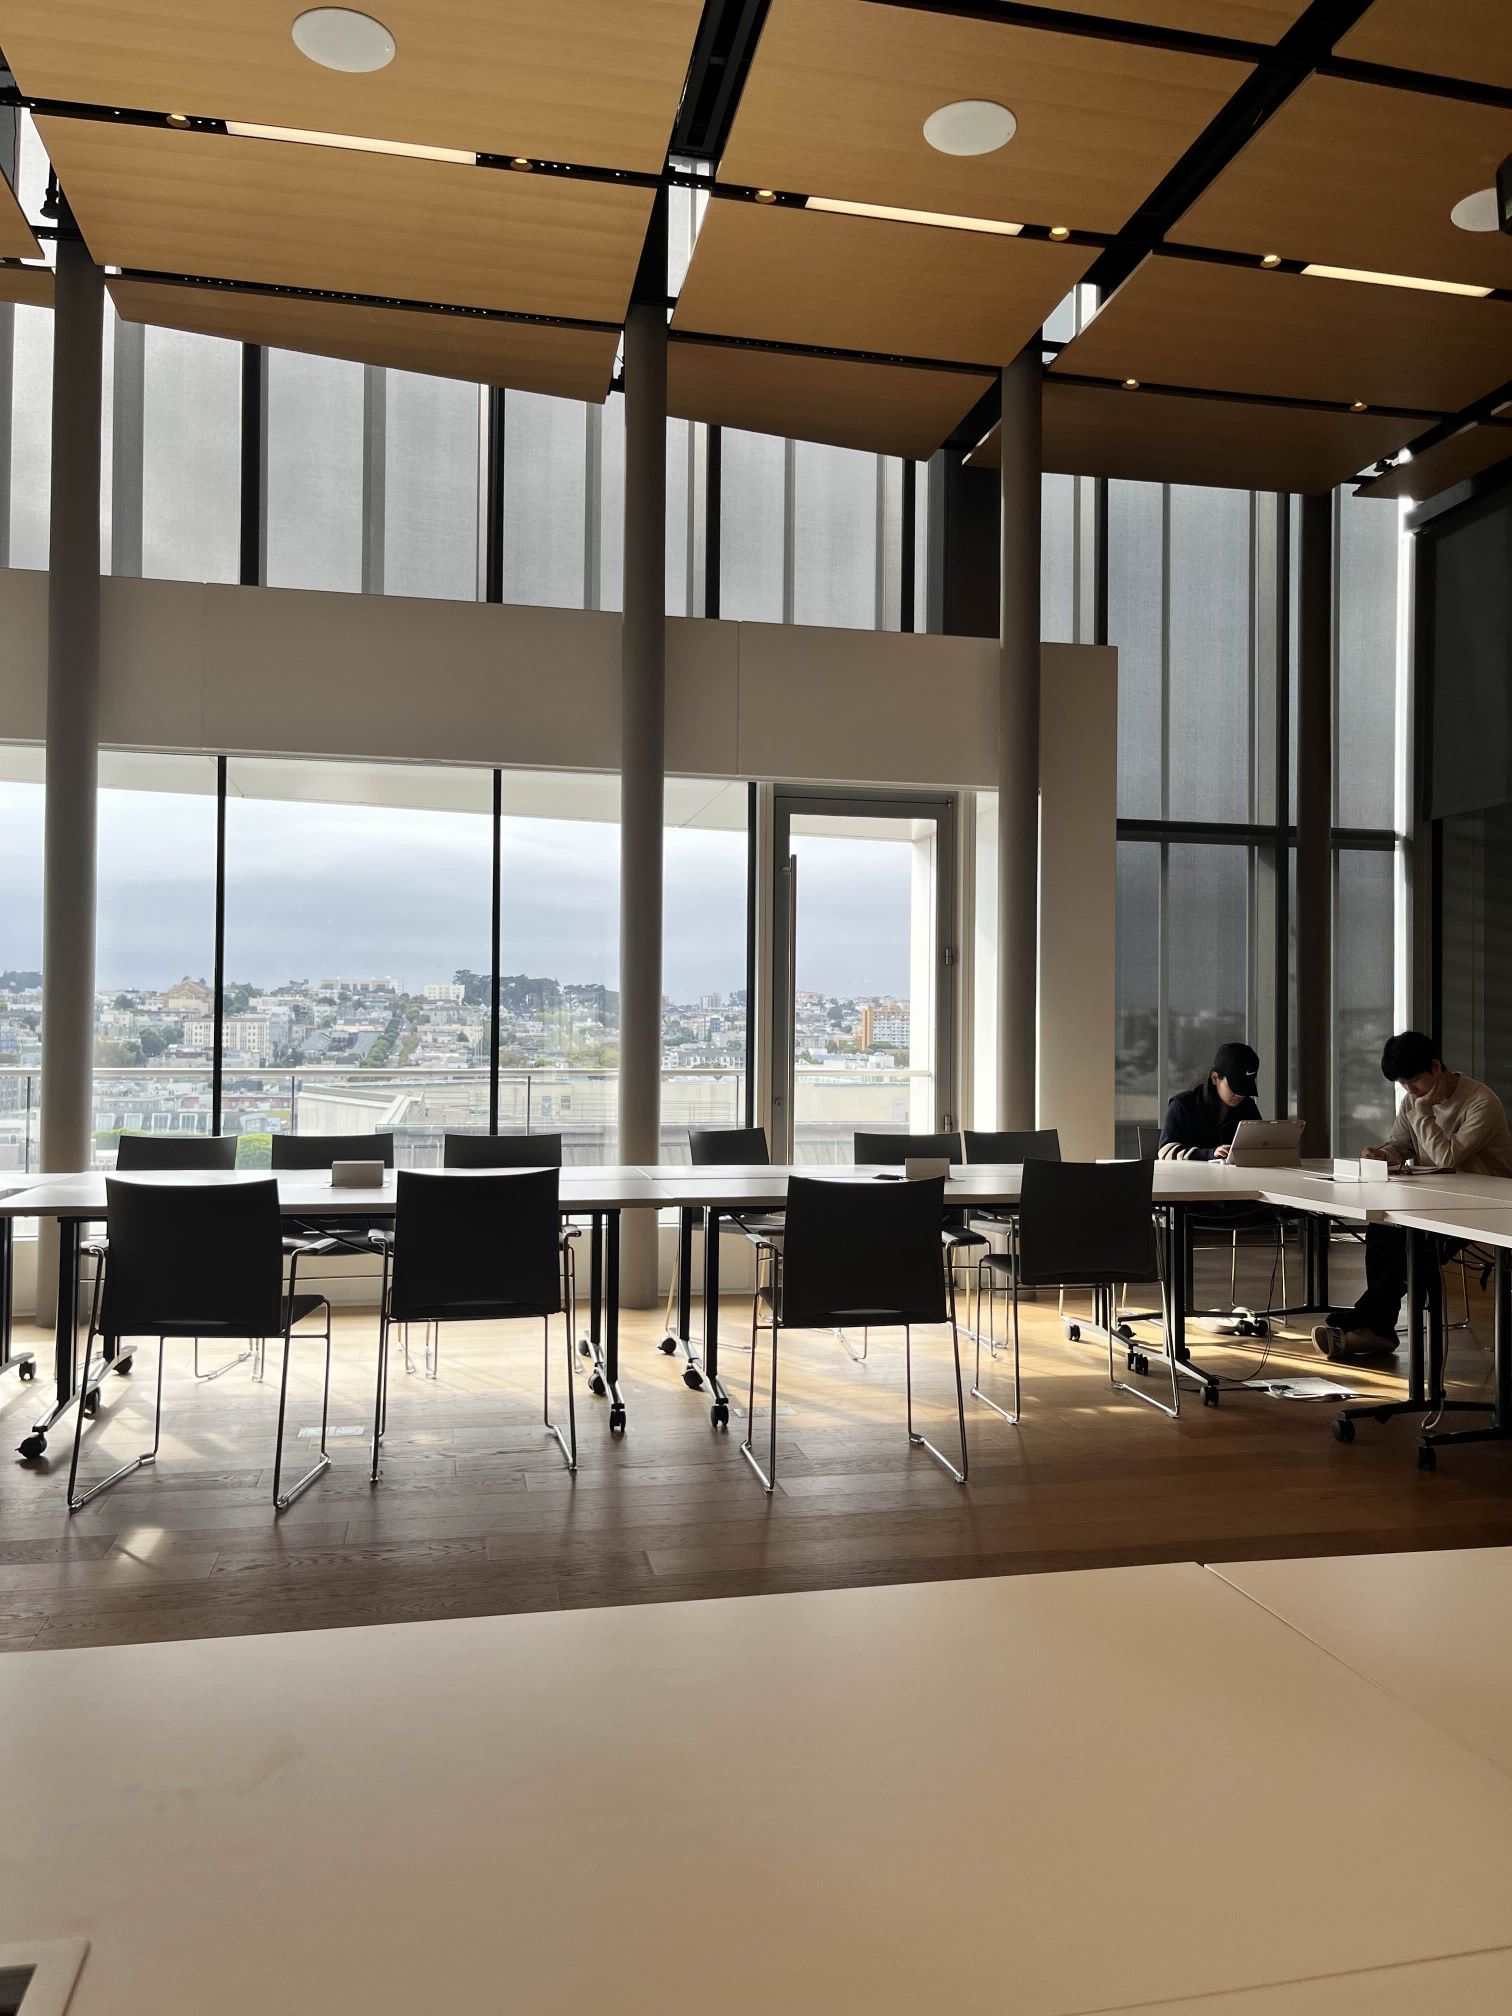
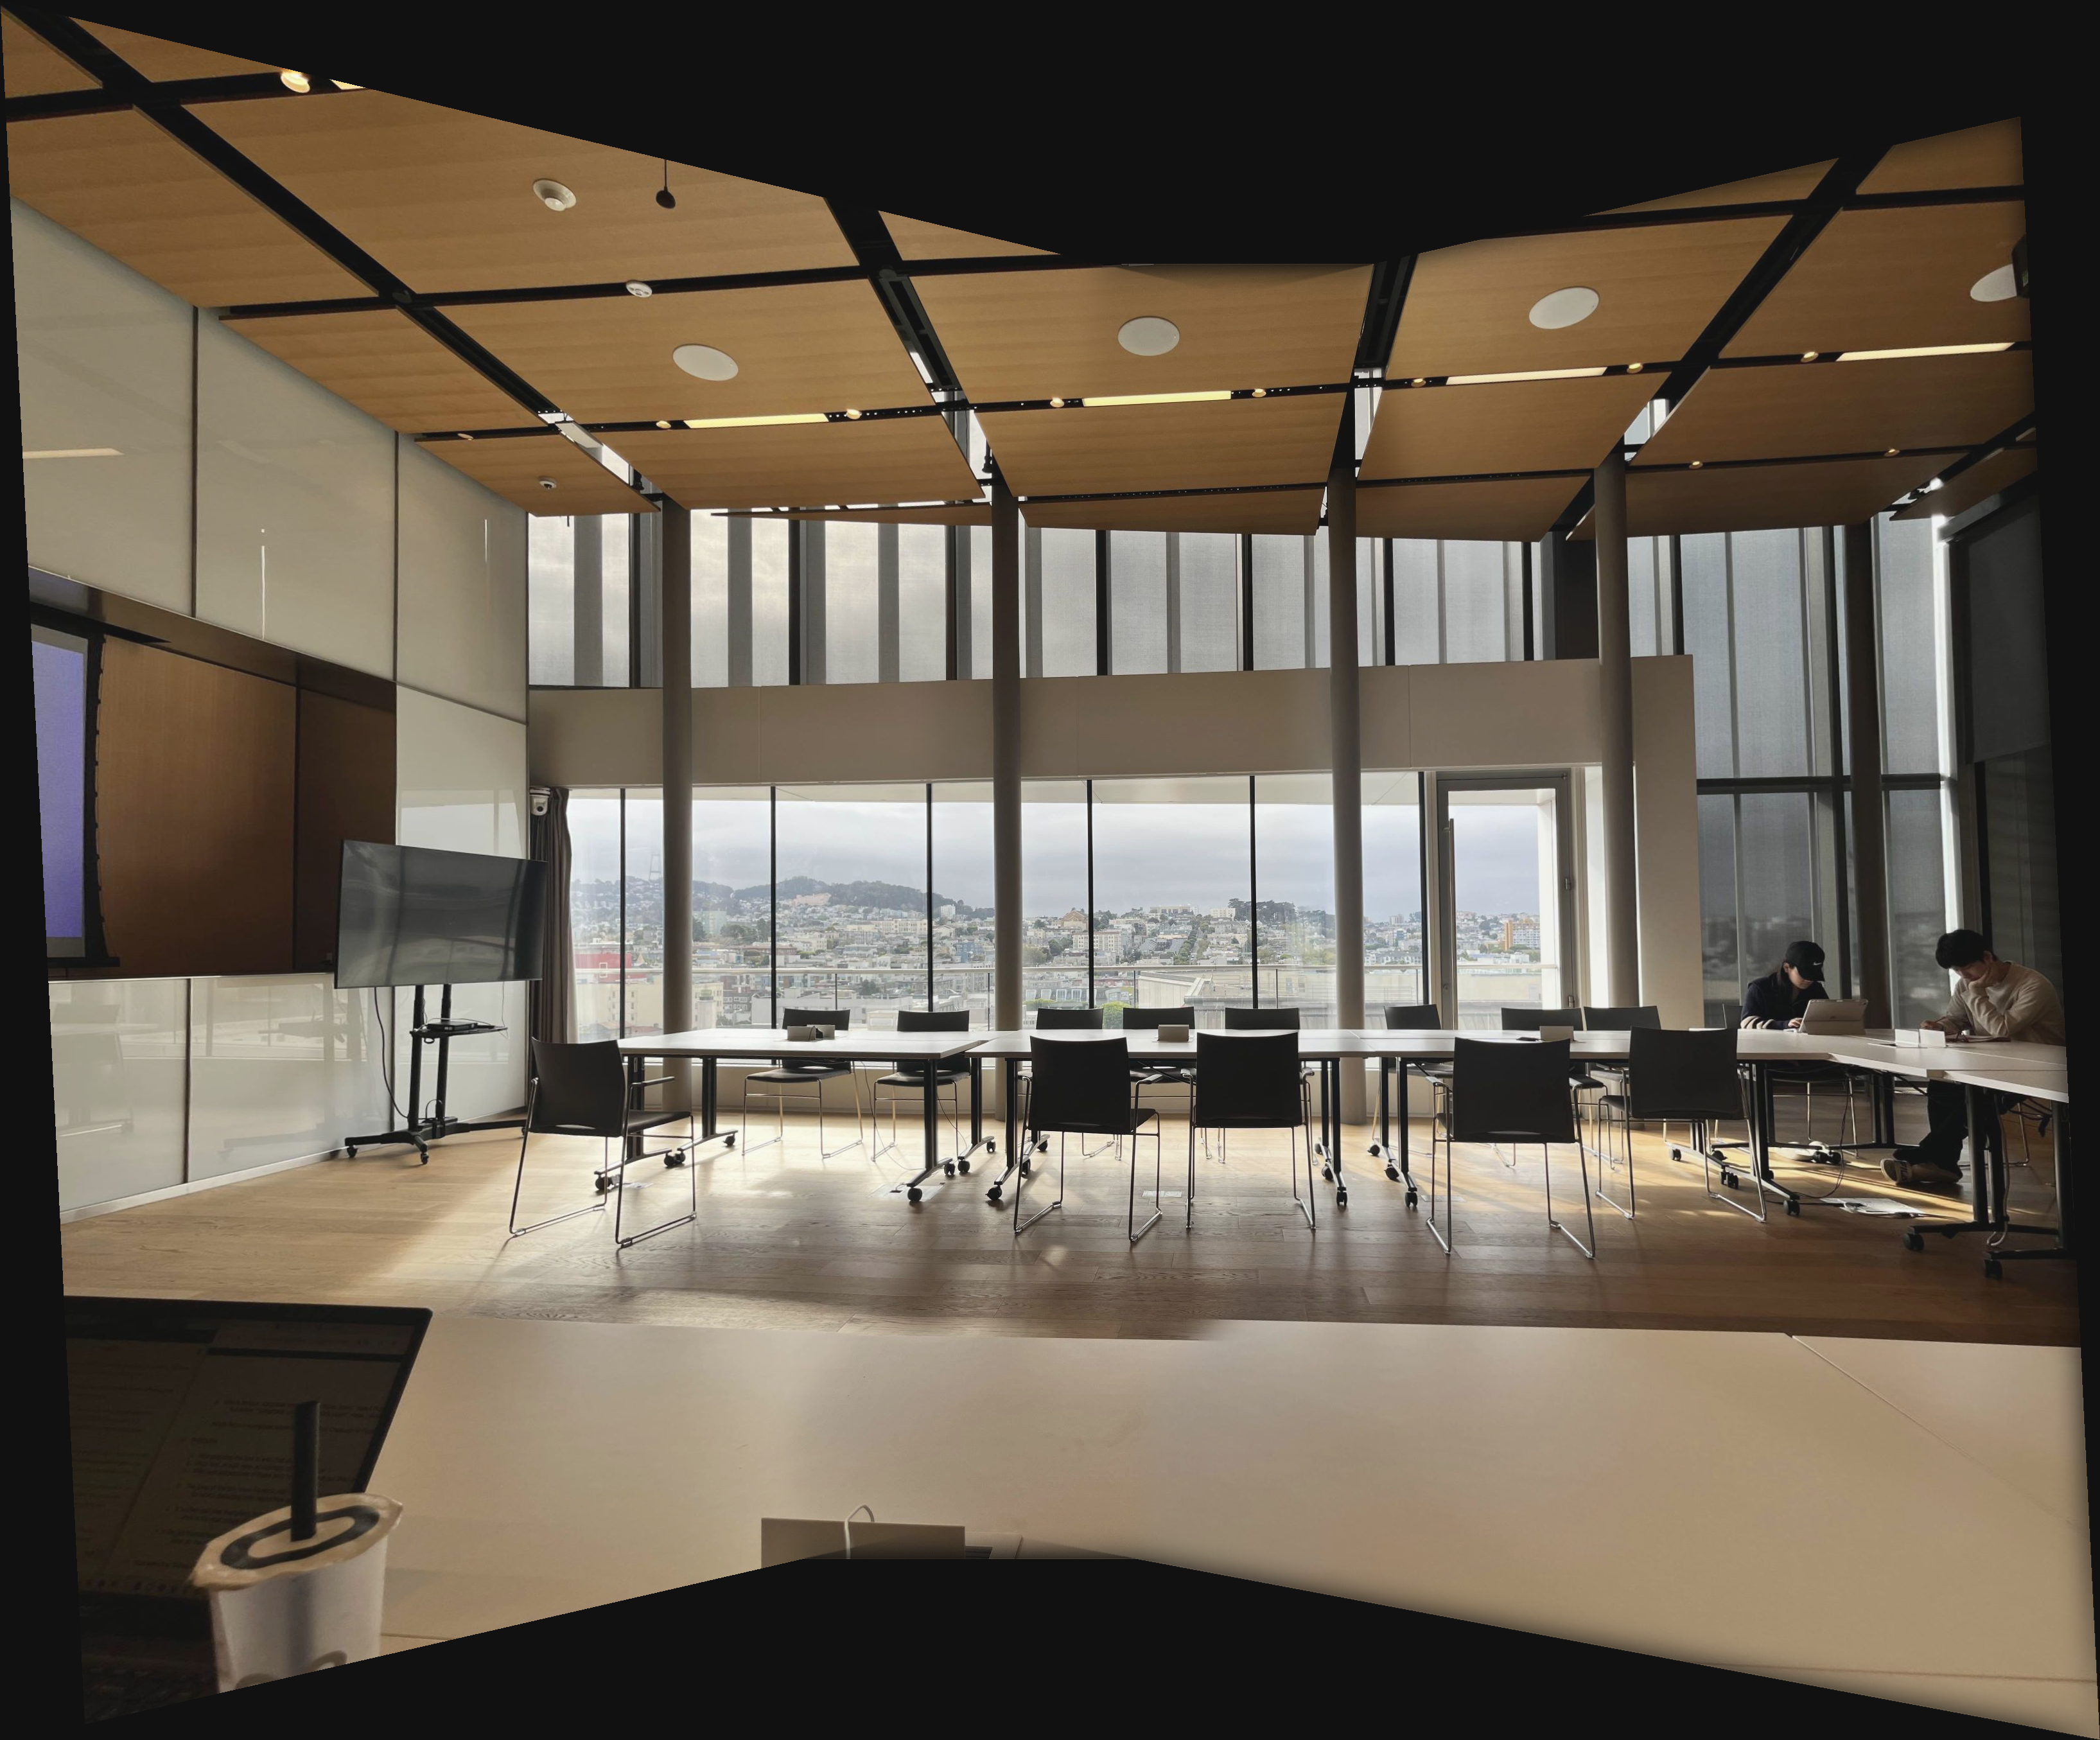
There are several noticeable artifacts in the panorama, namely the table in the foreground being misaligned as well as the apparent feathered edges starting on the middle top and middle bottom of the panorama and extending to the right. The table's misalignment is probably due to the camera's position being shifted as it was being rotated to take the panorama; this effect is exacerbated for closer objects, and this misalignment is not noticeable for the rest of the image that is further away. The apparent feathered edges are due to multi-resolution blending of the merged (center + right) of the image with 0 (as the alpha mask is only the combined image) To fix this, we could do multi-resolution blending with 2 different masks to take into account the empty space, although it takes considerably more computation time for a relatively minor effect.
San Francisco Capital
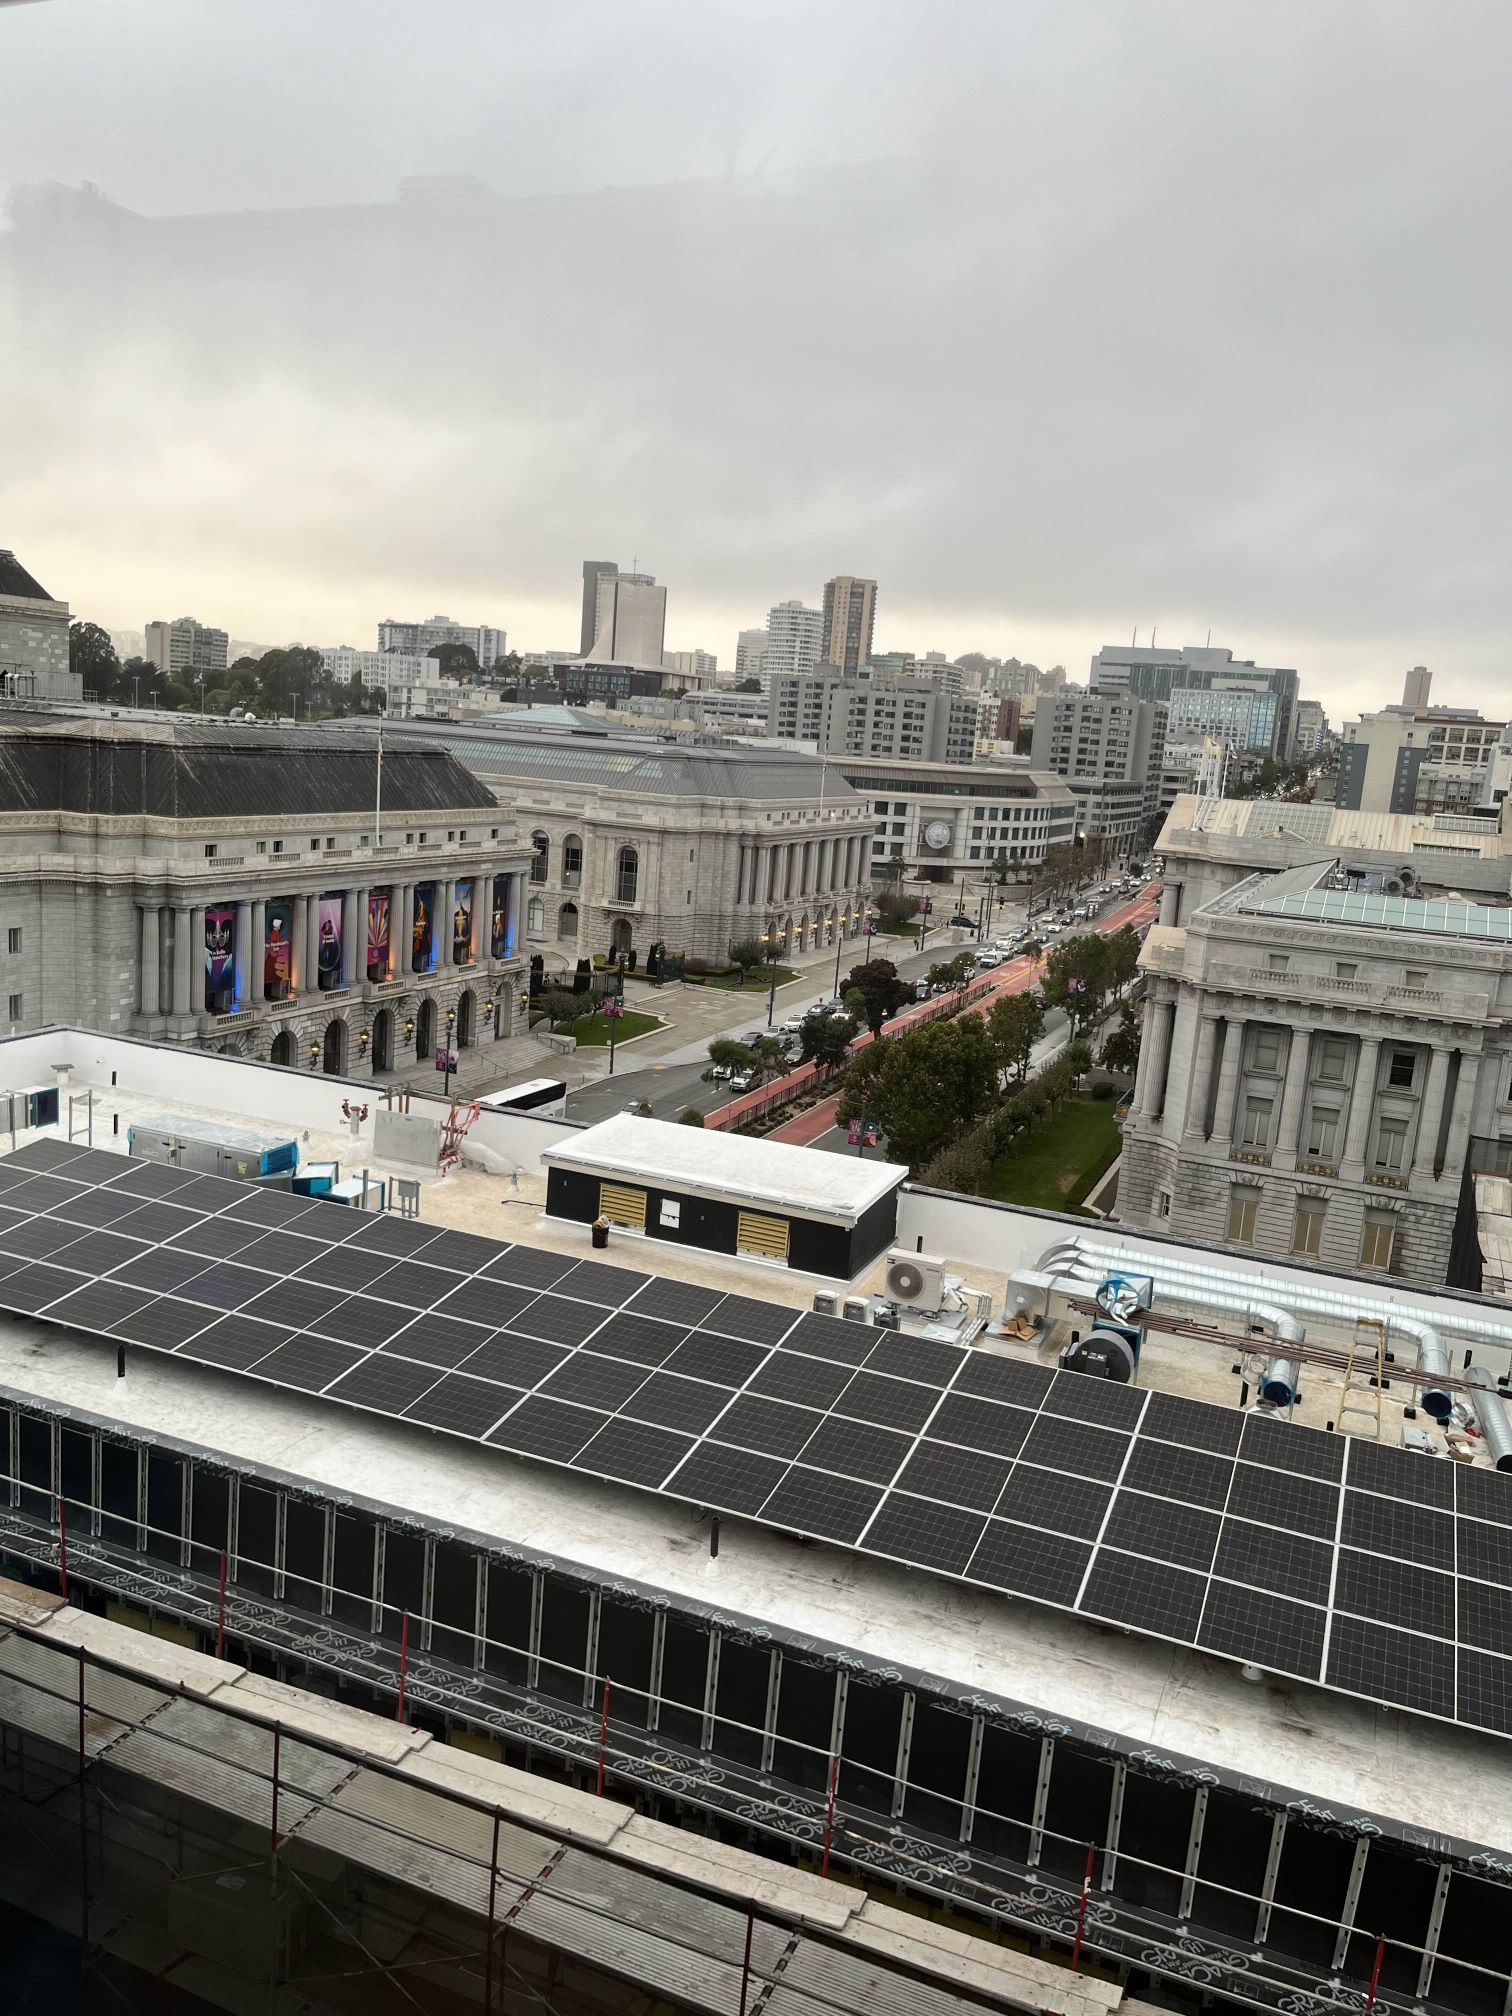
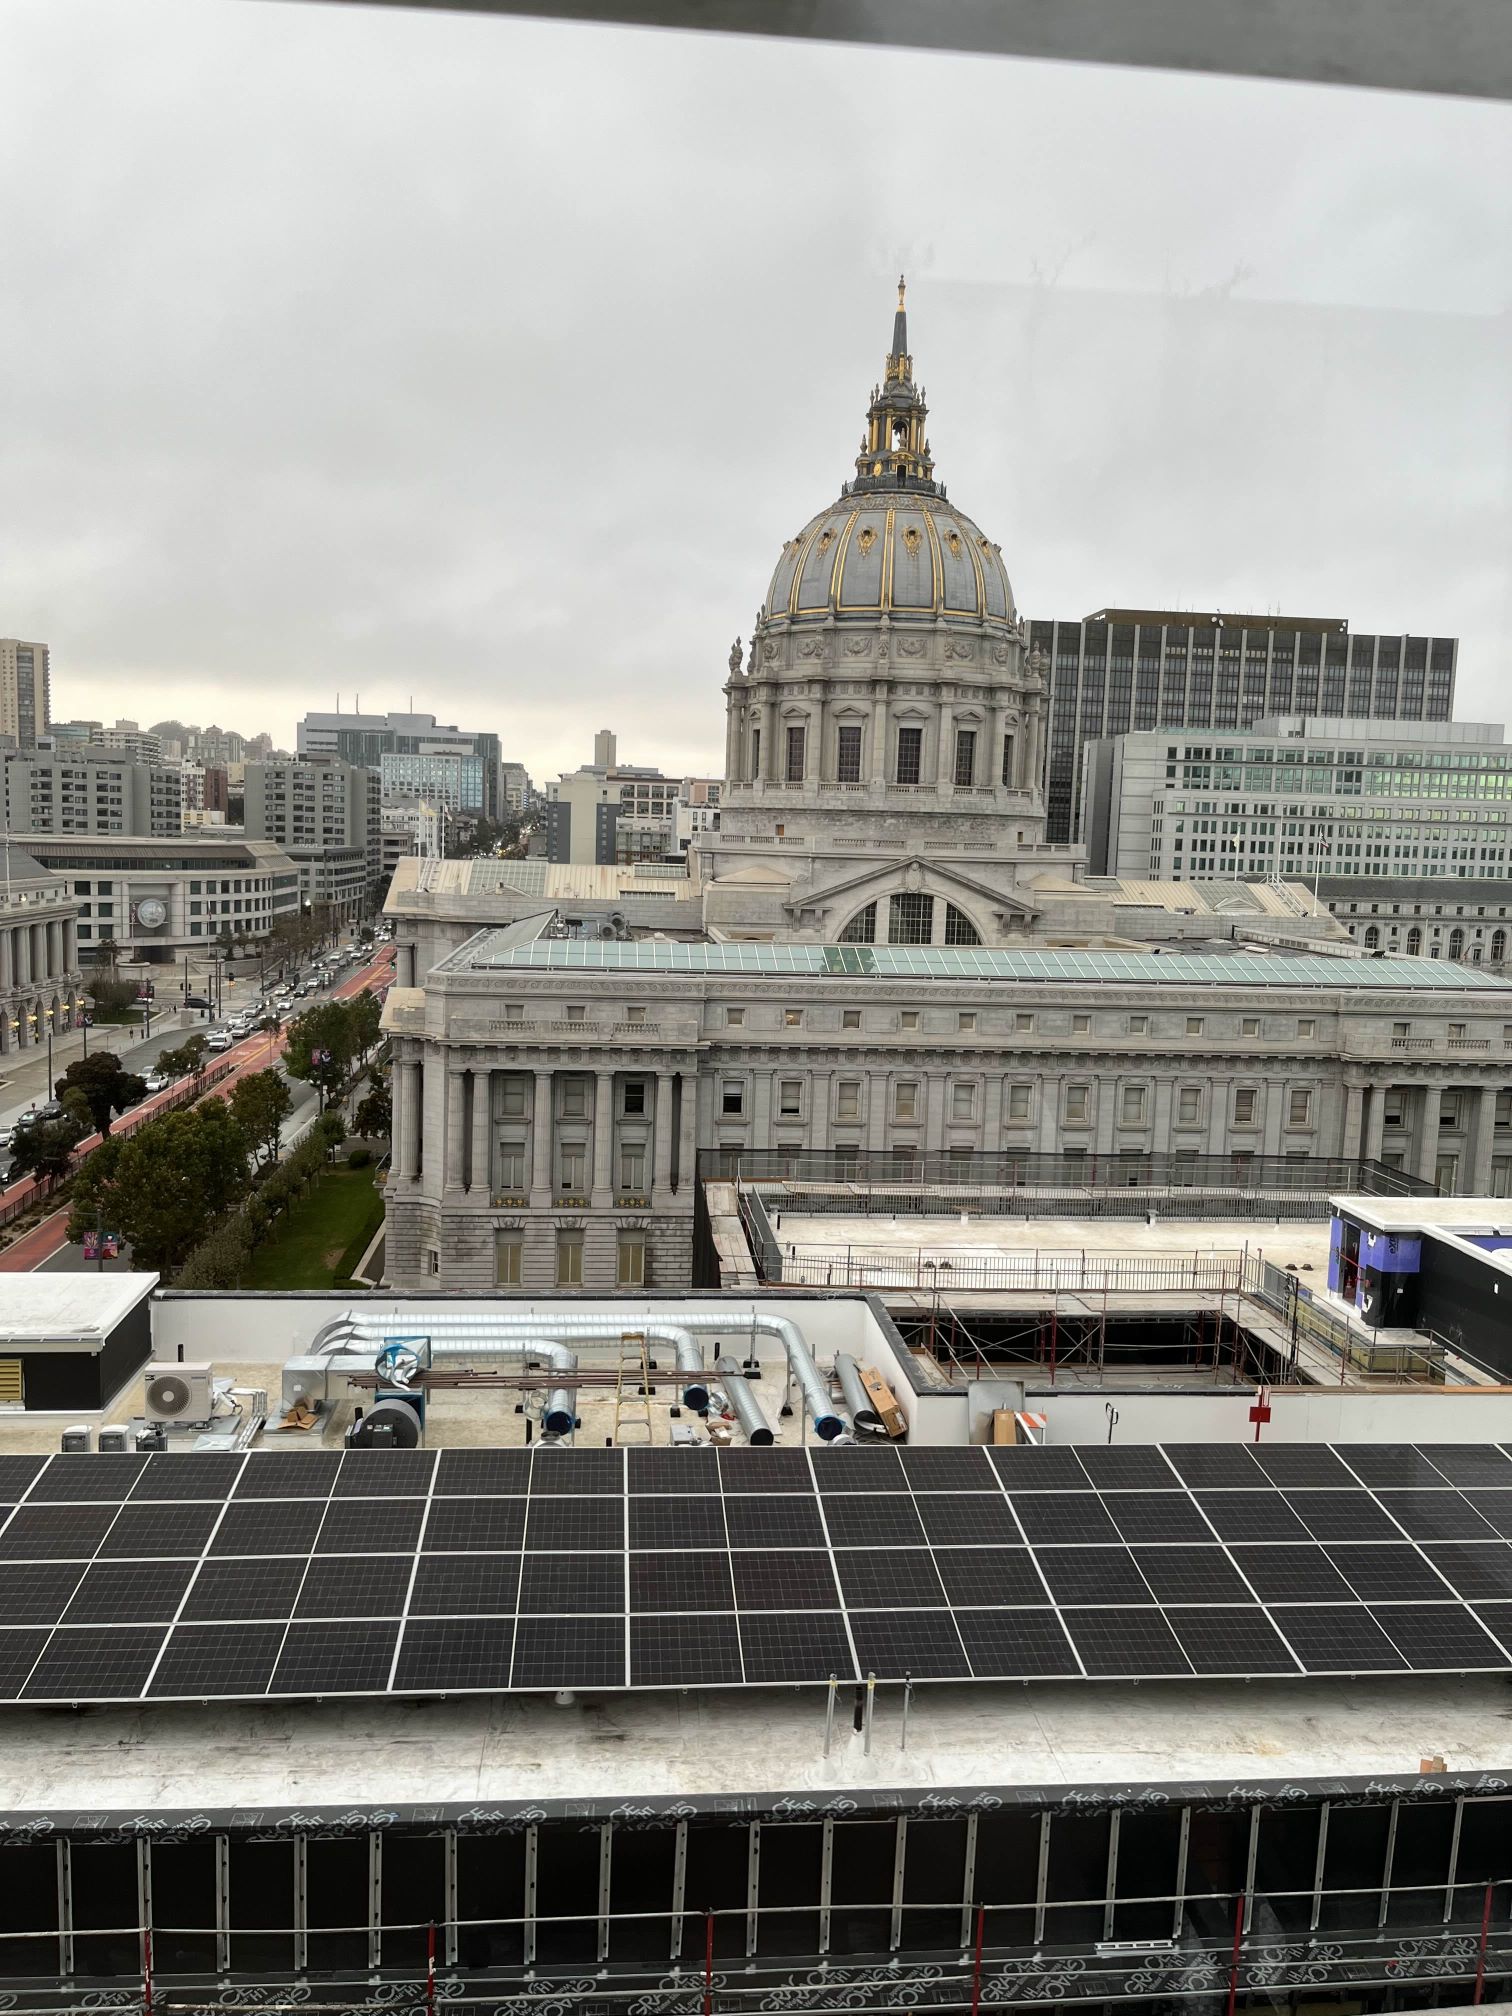
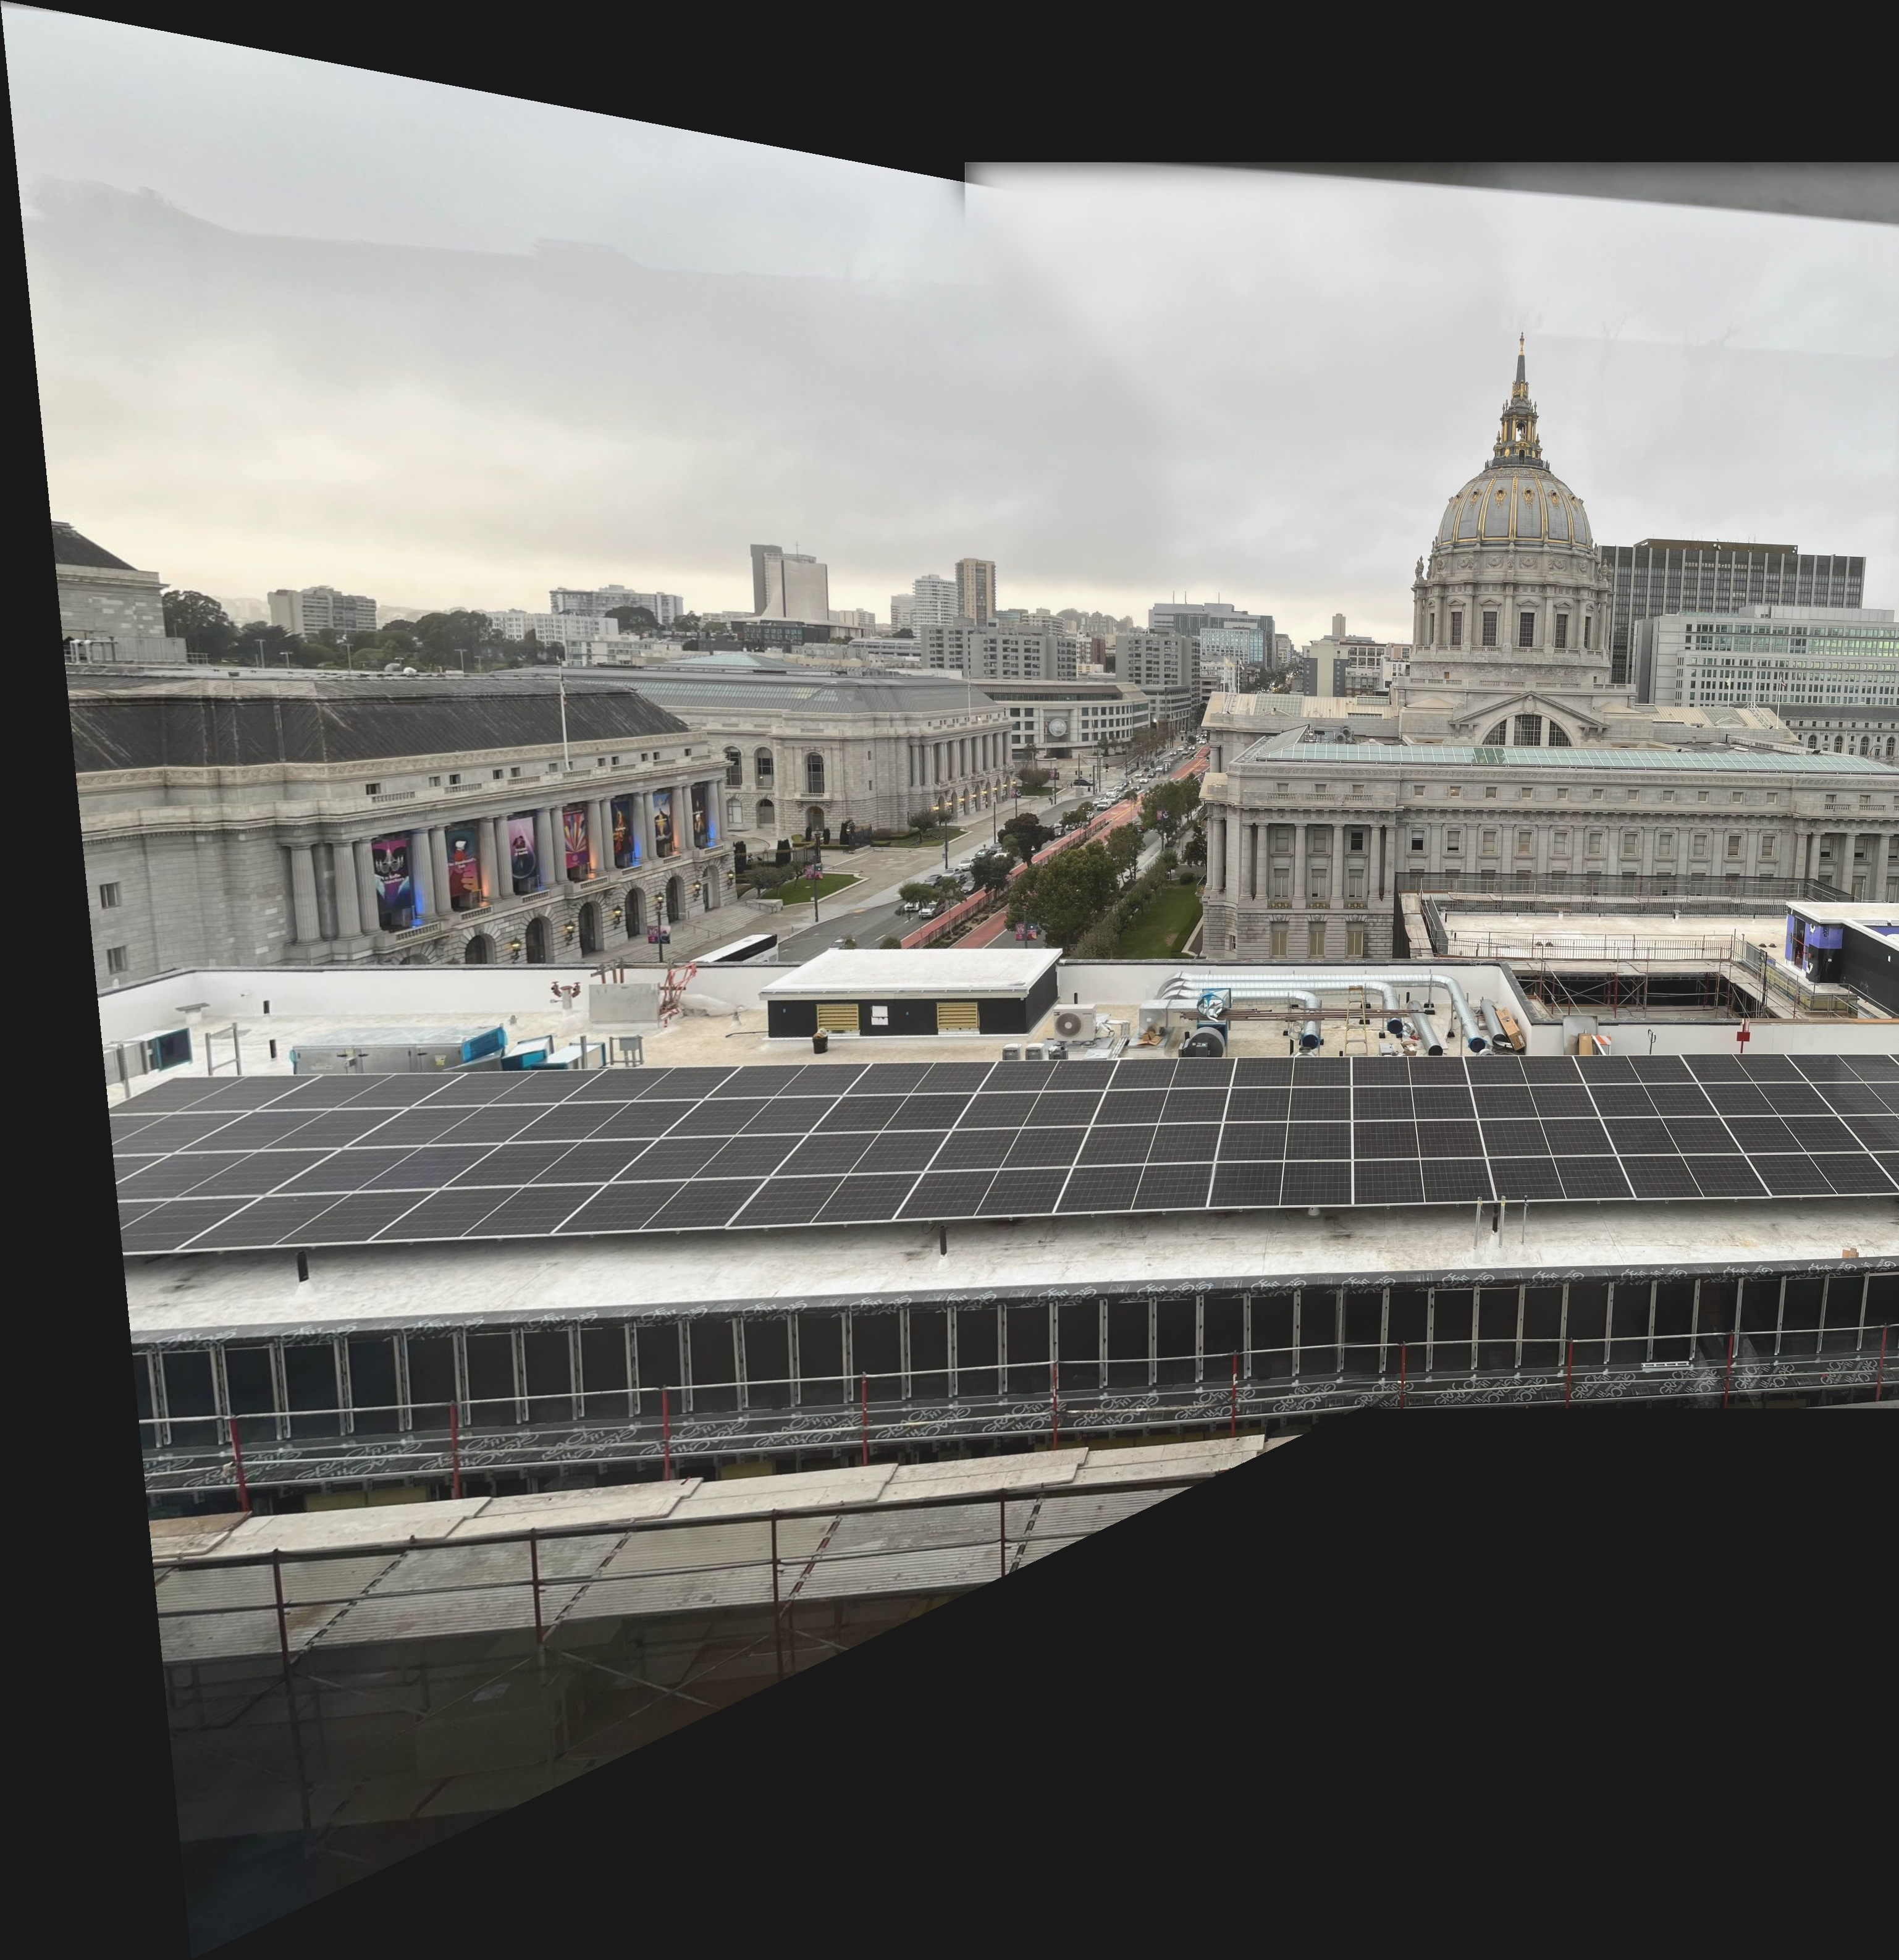
There are some artifacts along the top of the image due to reflections from the glass I took the picture behind as well as the top of the glass appearing in the upper right of the panorama. Otherwise, the alignment and blending for this panorama went quite well.
SFCM Roof Lounge
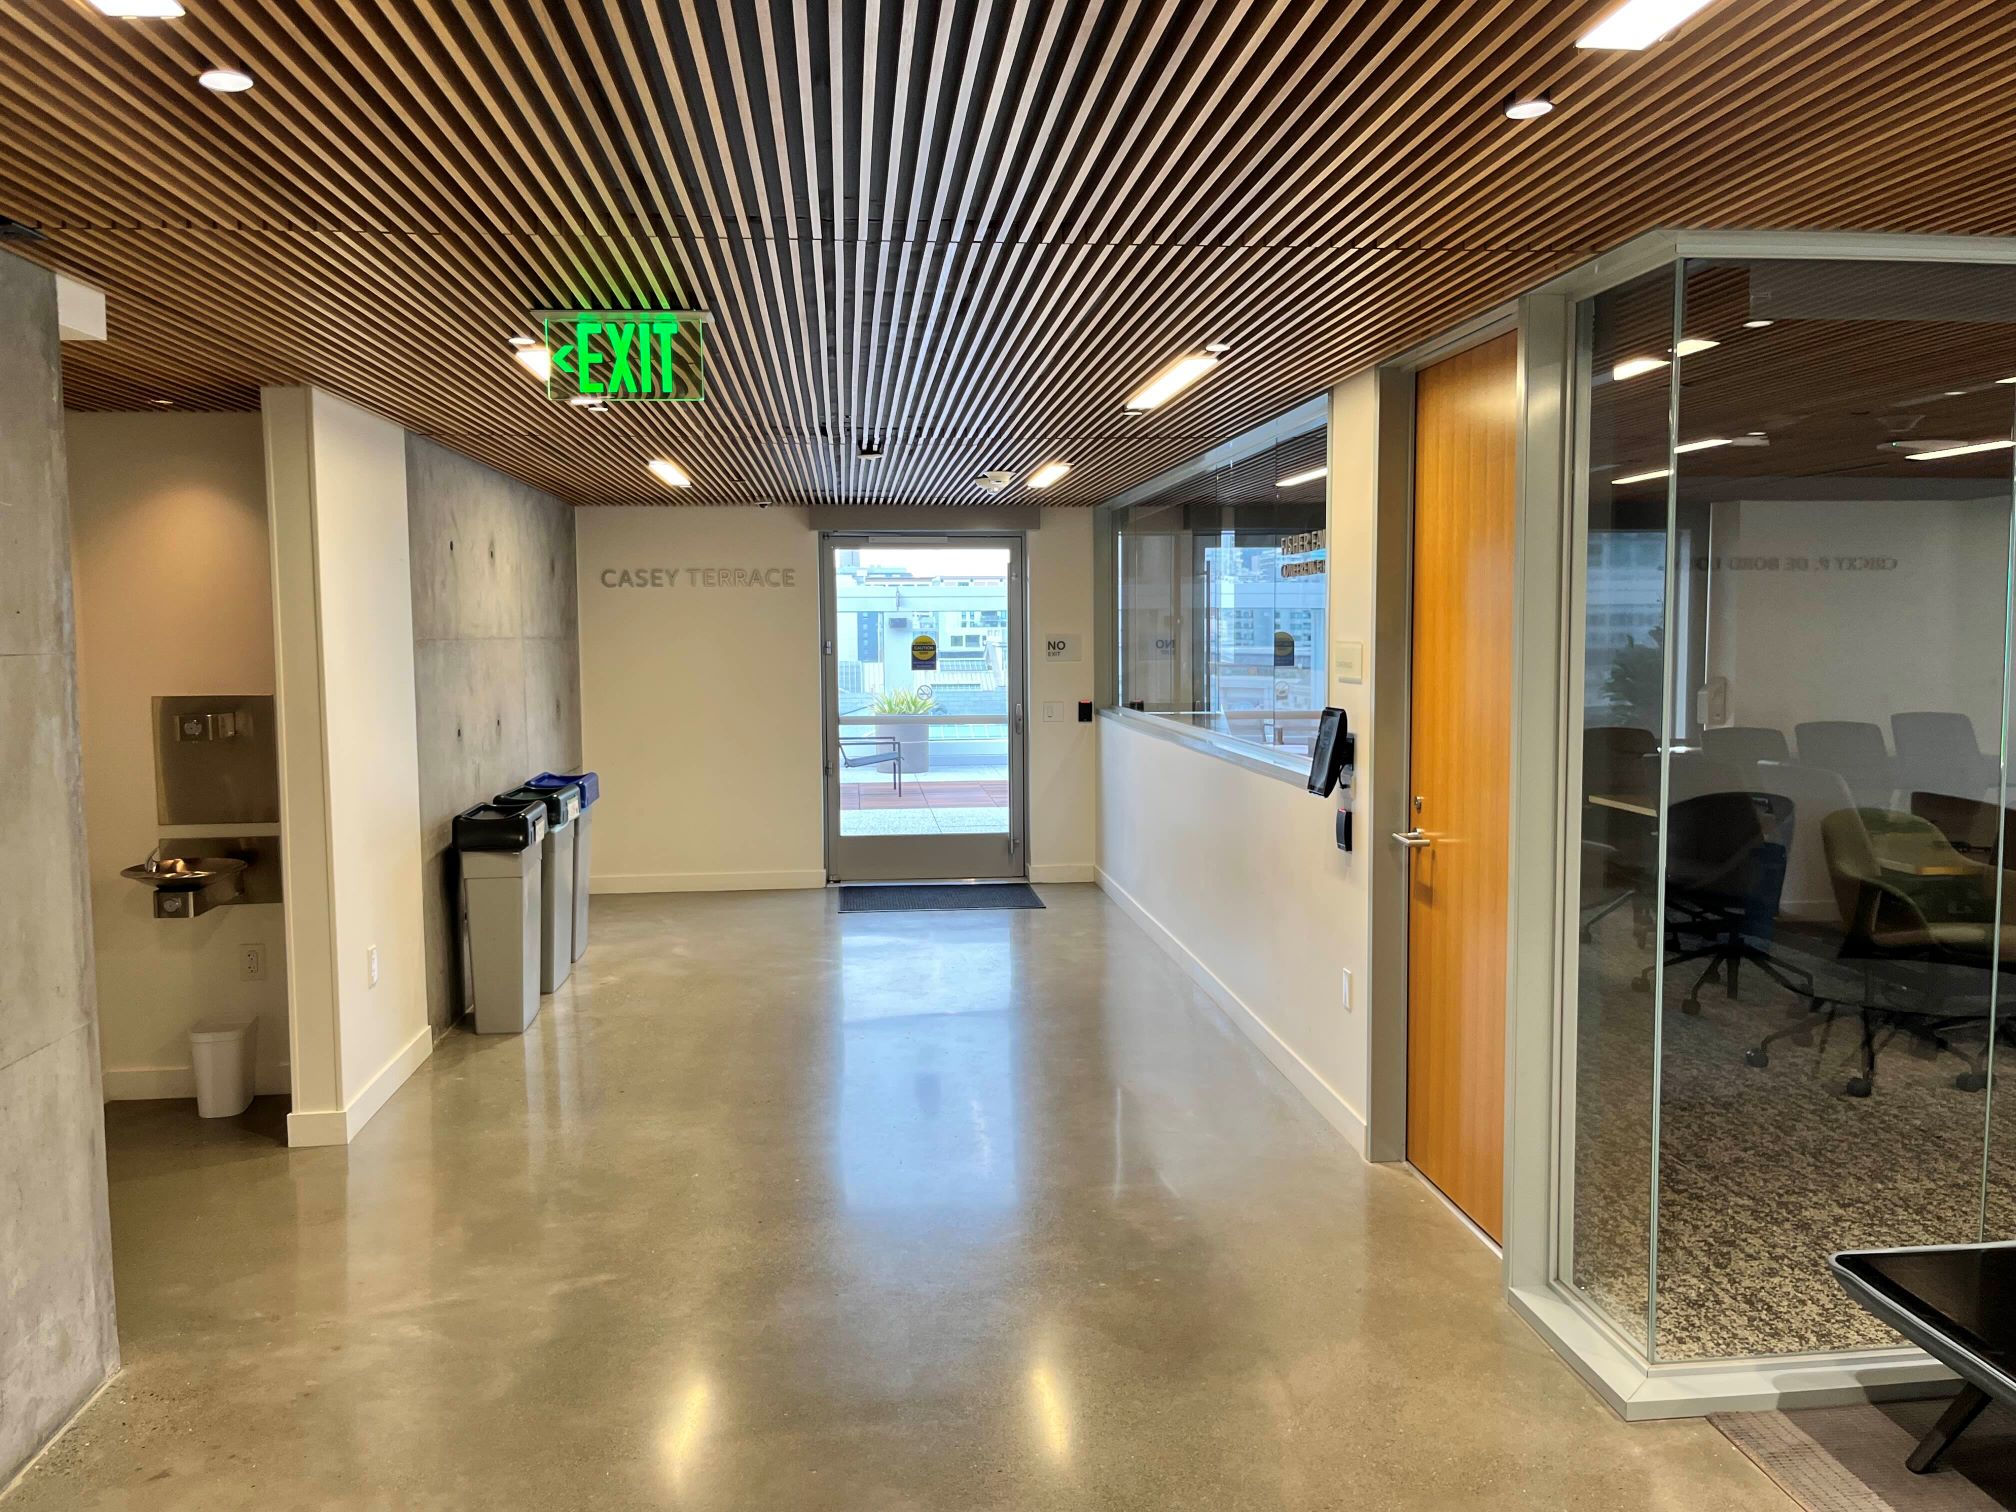
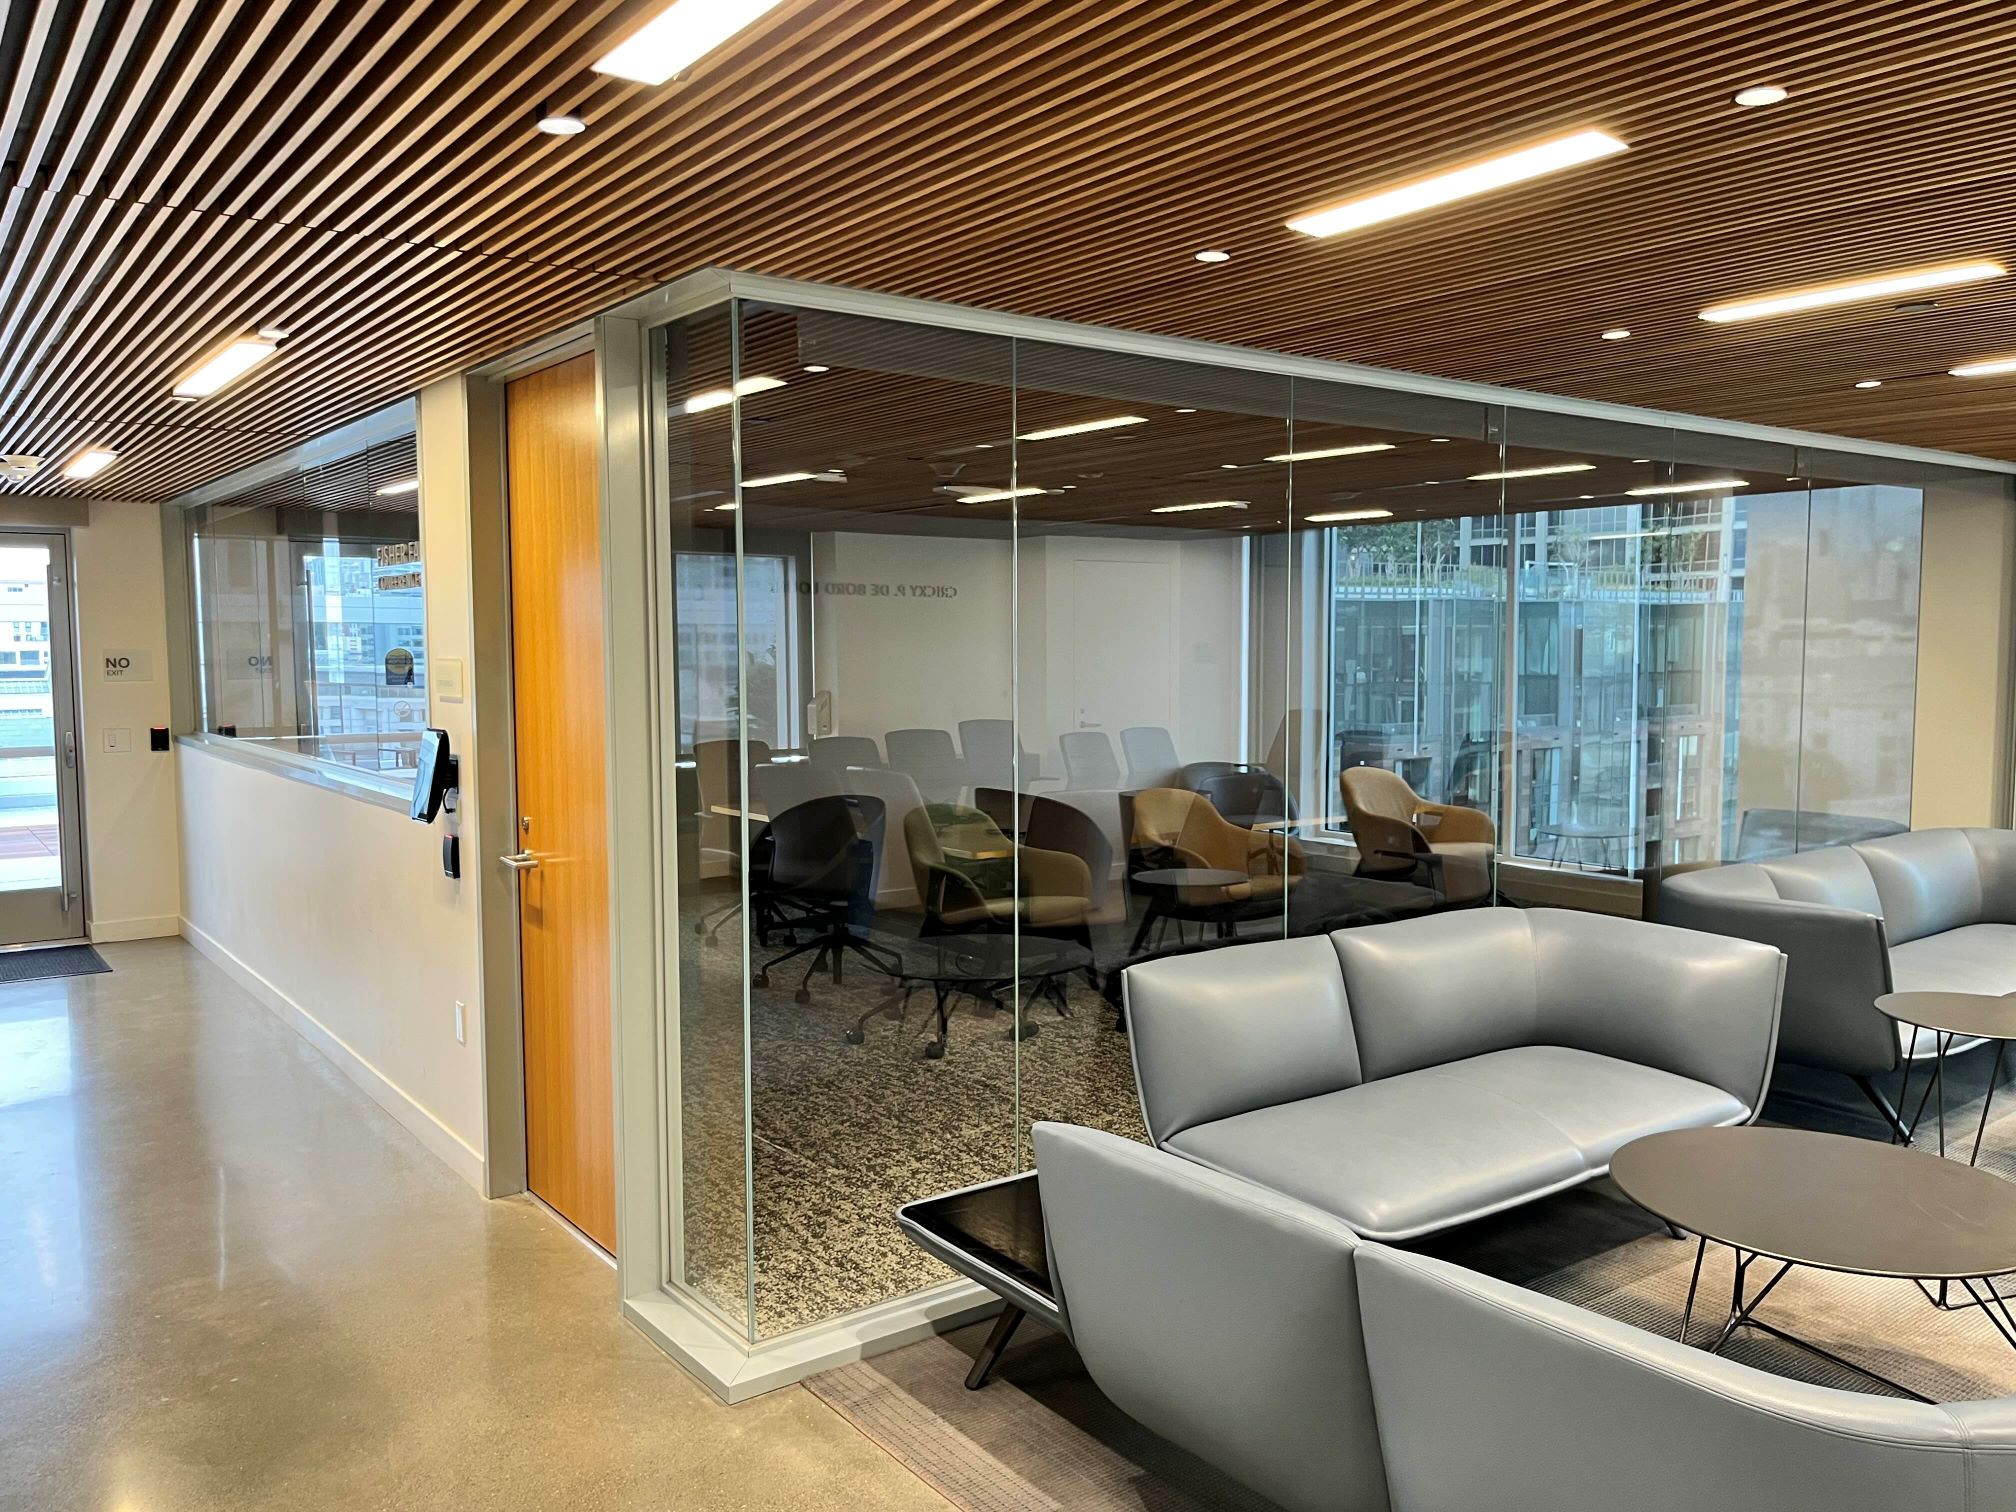
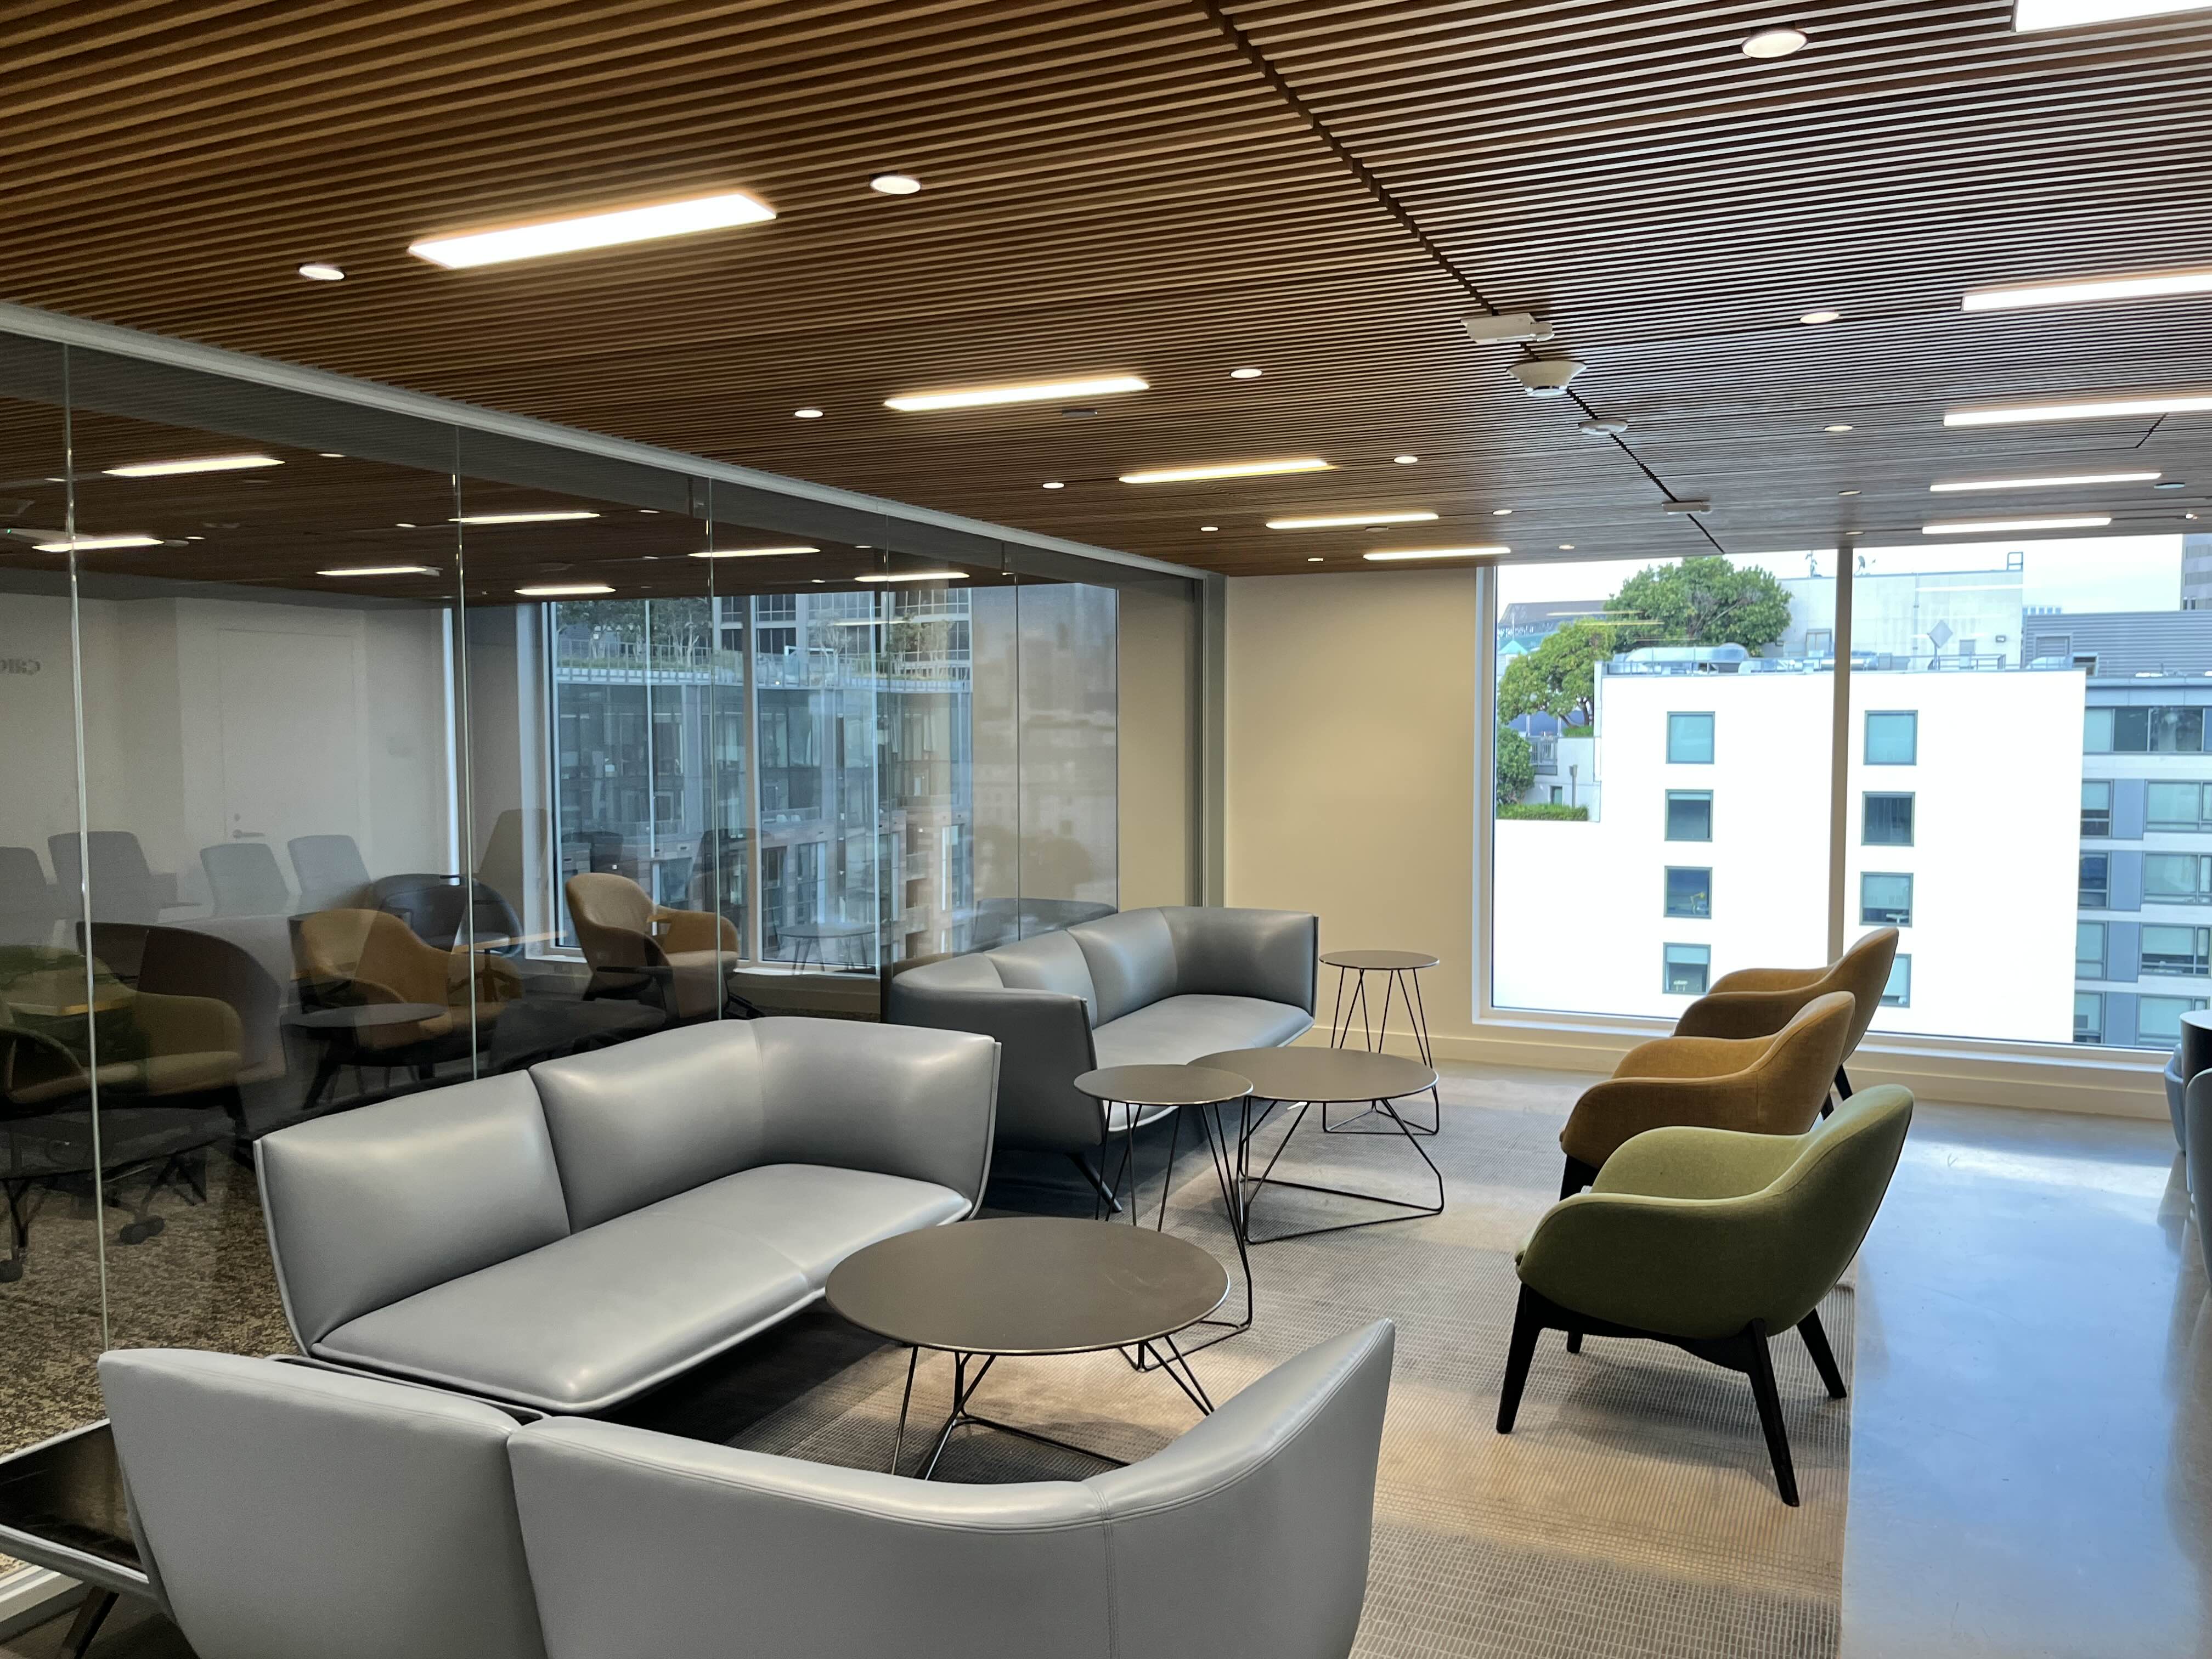
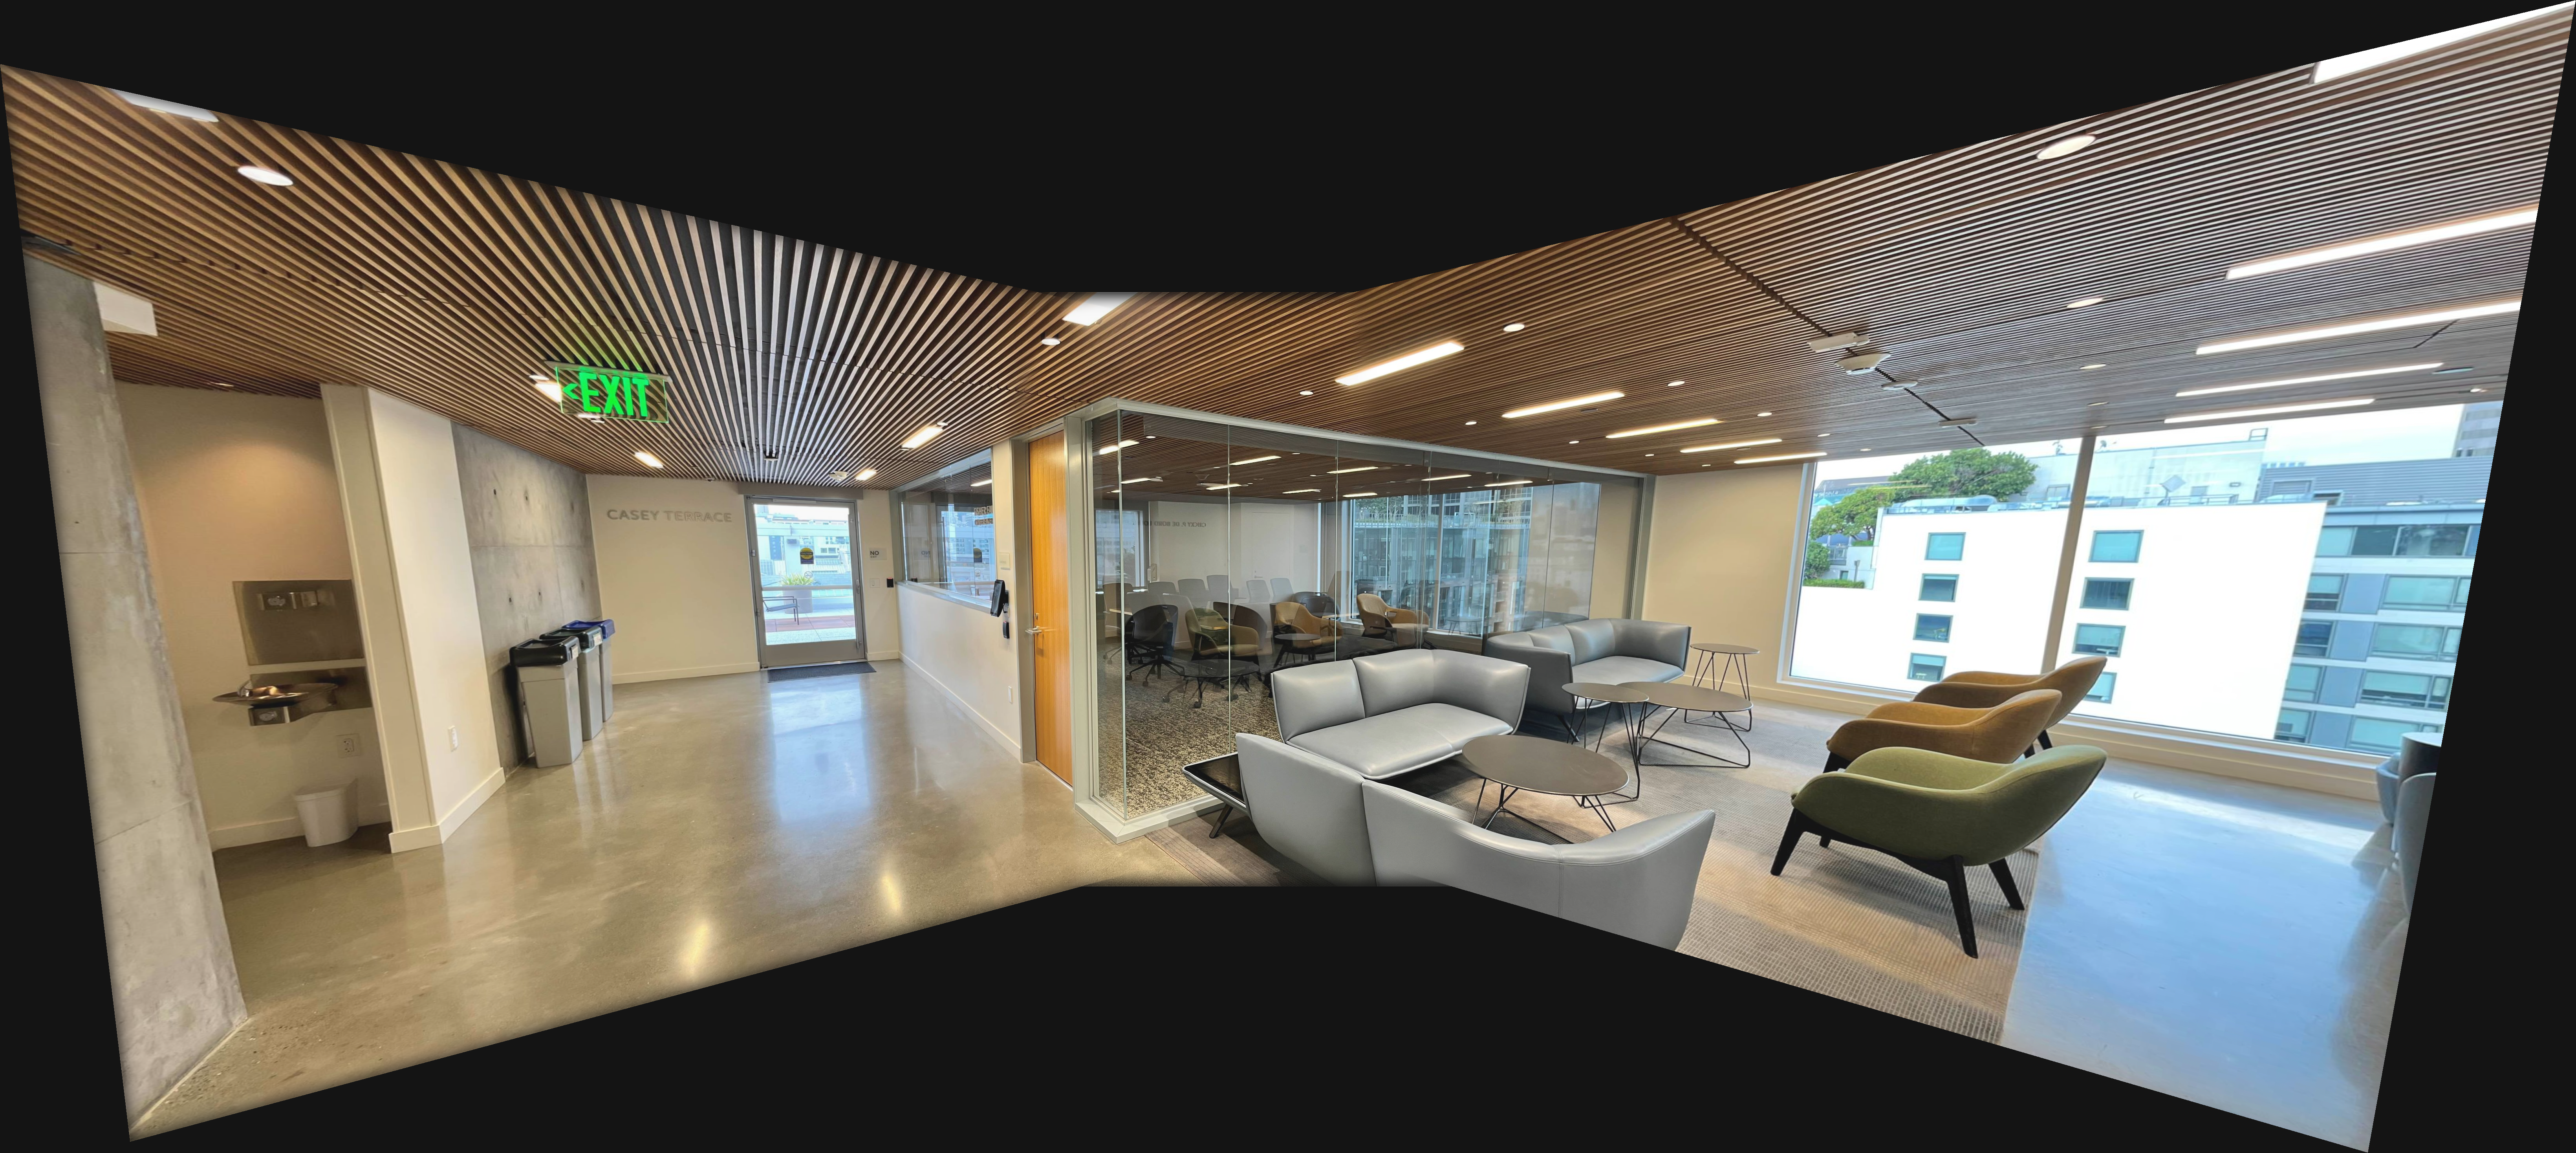
For this panorama, there are noticeable seams along the roof of this panorama due to differences in camera exposure as well as slight misalignments. The rest of the image looks relatively good otherwise, except for the closest chair in the foreground having the same misalignment issue as the table in the above panorama.
Project 4B: Feature Matching for Autostitching
Overview
We proceed to identify correspondences automatically from images for use in panorama stitching using an adaptation of the algorithms used in “Multi-Image Matching using Multi-Scale Oriented Patches” by Brown et al.
Corner Detection
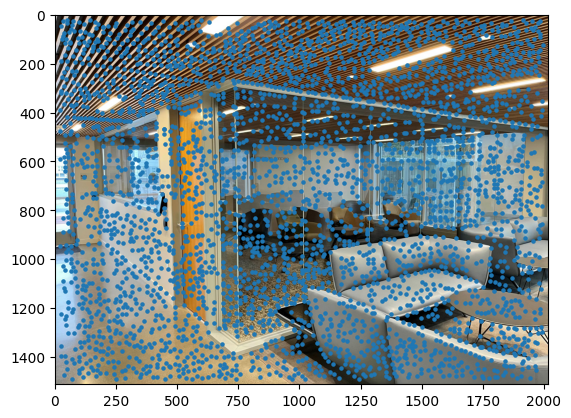
We first use a Harris detector to identify interest points (points which are likely to be a corner, but are not necessarily so). This is done by looking at the eigenvalues of the second moment matrix computed from image derivatives around each pixel to determine if the L2 loss locally around the pixel is convex (if it is then it is likely to be a corner). This gives us a very dense set of interest points from which we identify and filter out our feature points in the following sections to reduce computation time.
Adaptive Non-Maximal Suppression (ANMS)
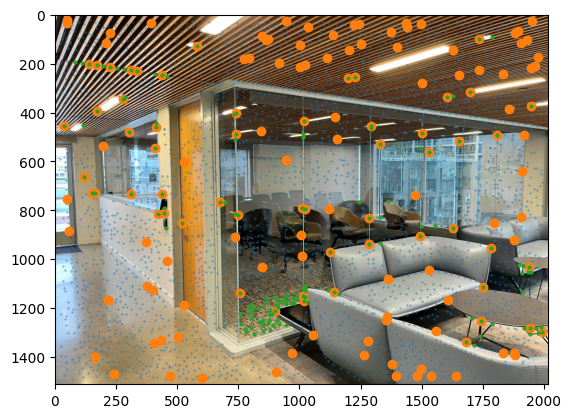
To cull interest points, we implement the Adaptive Non-Maximal Suppression (ANMS) algorithm described in the MOPS paper. The idea is to select interest points that have strong Harris responses and are sufficiently far away from other points of stronger Harris responses to give us a more uniform distribution of points across the image than the naive approach of selecting the highest Harris response points. We calculate the minimal suppression radius for each point and pick the top n of these points to form our interest points.
In the image below we take the top n=150 points with the highest minimal suppression radii, pictured in orange. Also plotted are the naive approach of taking the top 150 Harris response points in green, and the Harris interest points from the previous section in blue.
Feature Extraction
We extract axis-aligned features in a 40x40 window around each interest point, then downsample with spacing s=5 and Gaussian blur with sigma=2 (to prevent aliasing) to an 8x8 feature vector. We then bias and gain normalize the feature vectors to have a mean of 0 and standard deviation of 1.
Plotted below are the top 100 features in a 10x10 grid after normalization (but with values renormalized and shifted to be within 0 and 255 for display purposes).

Feature Matching
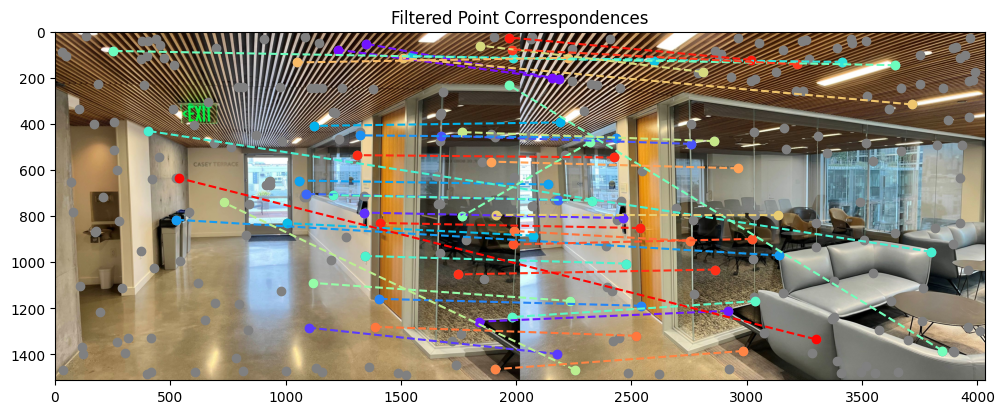
We next match features together by finding the pairwise distances between feature vectors in one image and the second image. We cross-check features to make sure each pair are each other's best matches as well as Lowe's trick, thresholding the ratio between nearest and second-nearest neighbors, in order to remove outliers.
As can be seen, there are a lot of good correspondences found near the right and left edges of the images, but also quite a few spurious ones towards the center of each image.
RANSAC
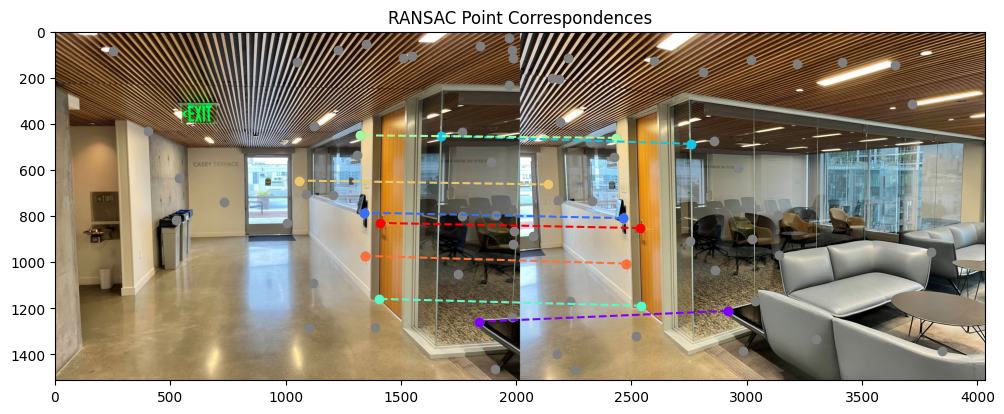
To further rid ourselves of incorrect feature pairs, we can use a randomized consensus algorithm to filter out outlier feature pairs. We randomly sample 4 pairs of points and compute the exact homography between them, then project them and the other points using this homography and see if the L2 distance between the projected points and the points in the other image are sufficiently small, and if they are they are counted as inliers. We repeat this random sampling for a large number of iterations and keep the largest set of inliers produced by a homography. These inliers are finally used for a least-squares homography and warping and stitching as in the first part.
Results
San Francisco Conservatory of Music (SFCM)


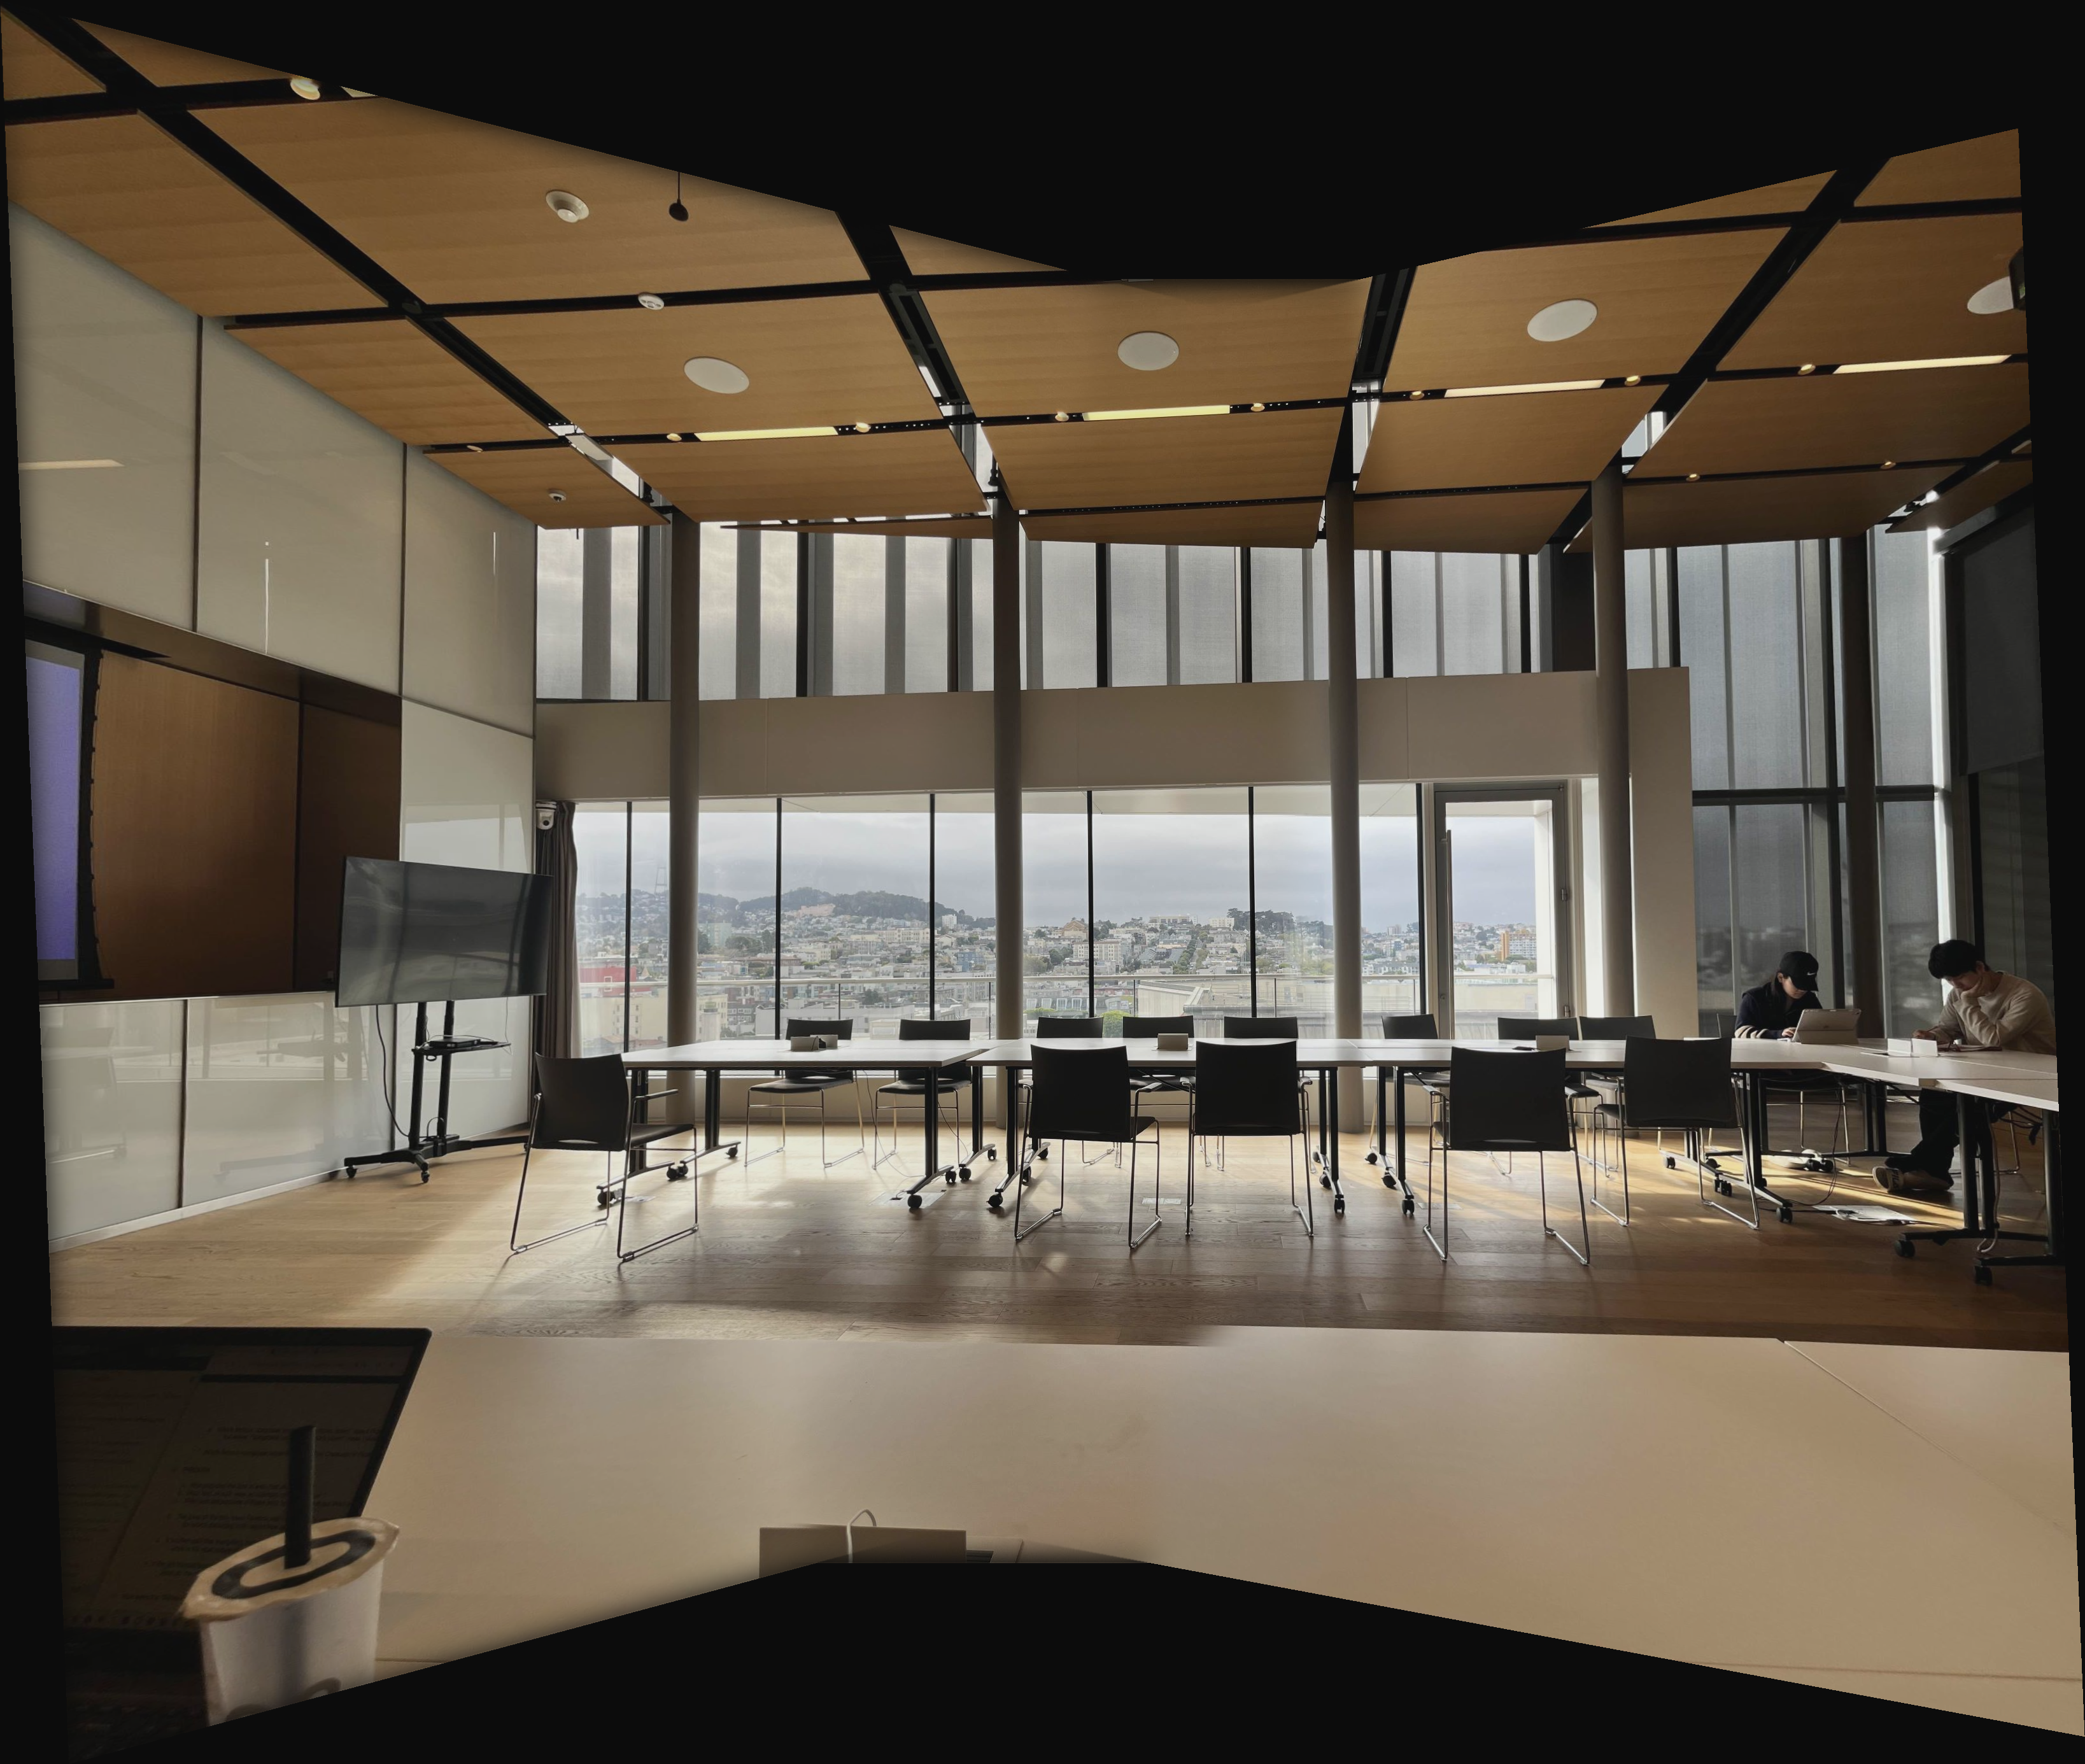
Overall, the automatic features seemed to do the same/slightly better in aligning the image to be clearer, although some artifacts remain such as the misalignment of the table.
San Francisco Capital


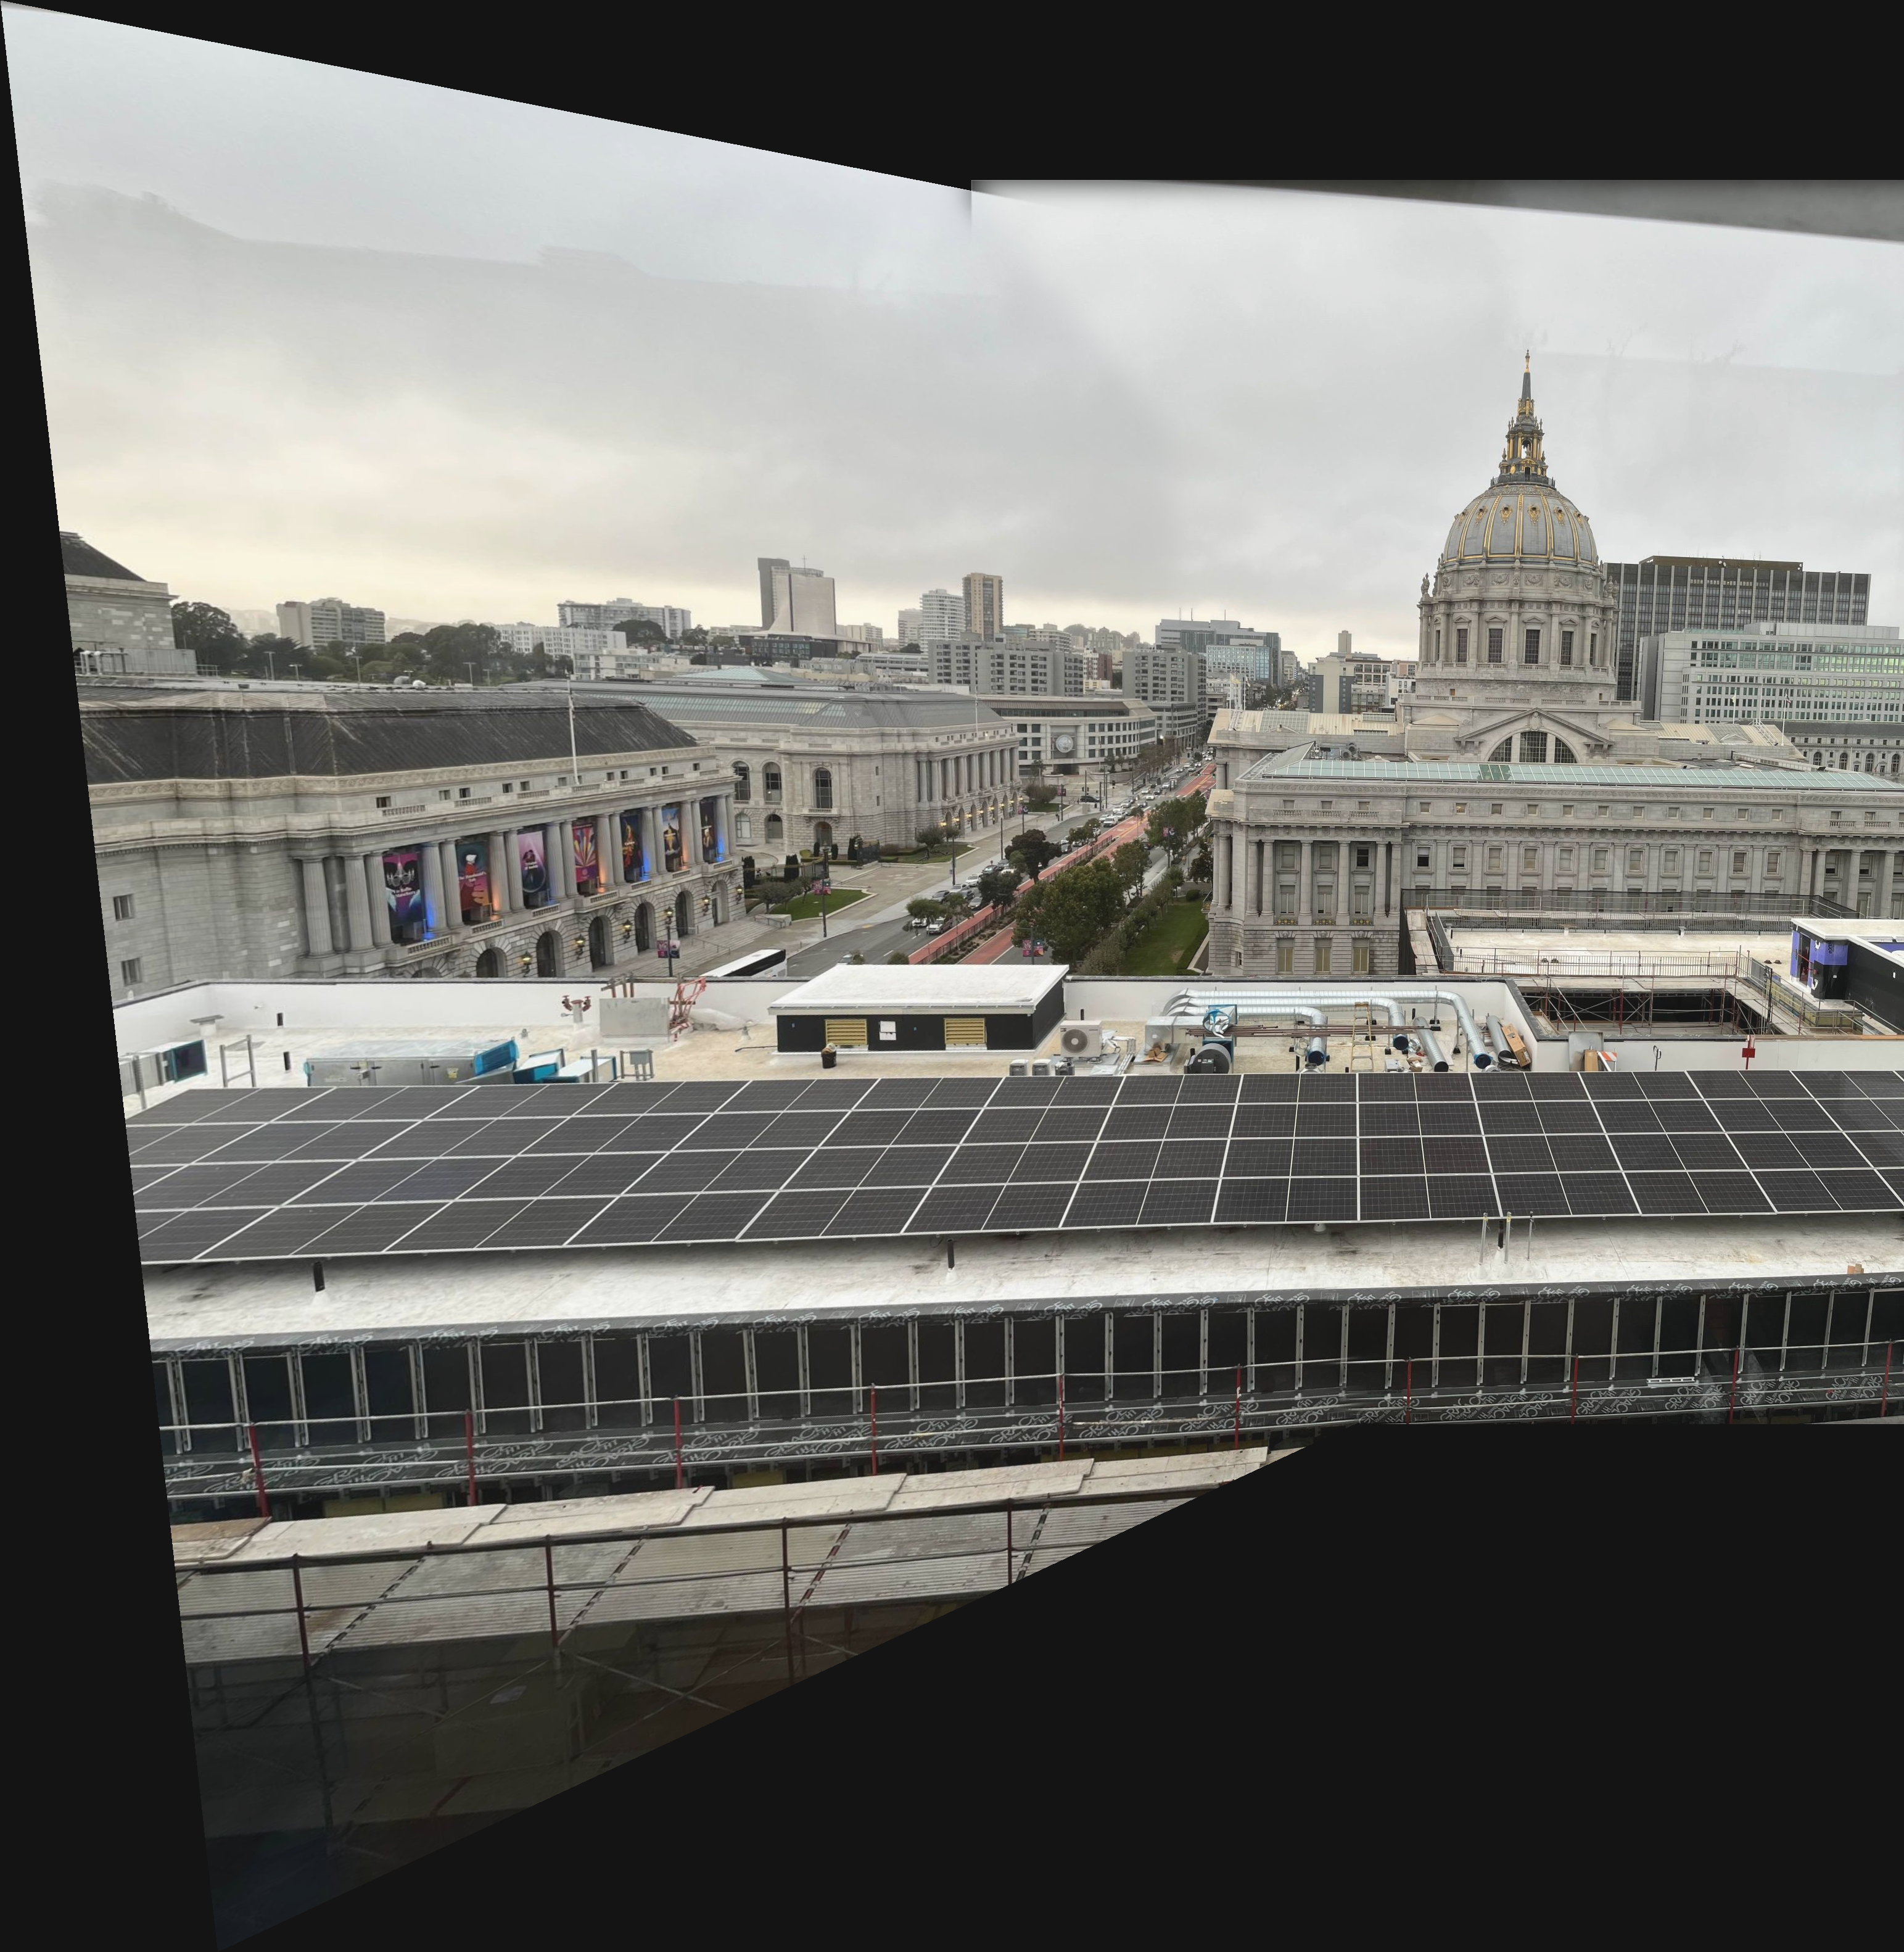
The automatically aligned panorama looks virtually identical to the manually aligned one.
SFCM Roof Lounge


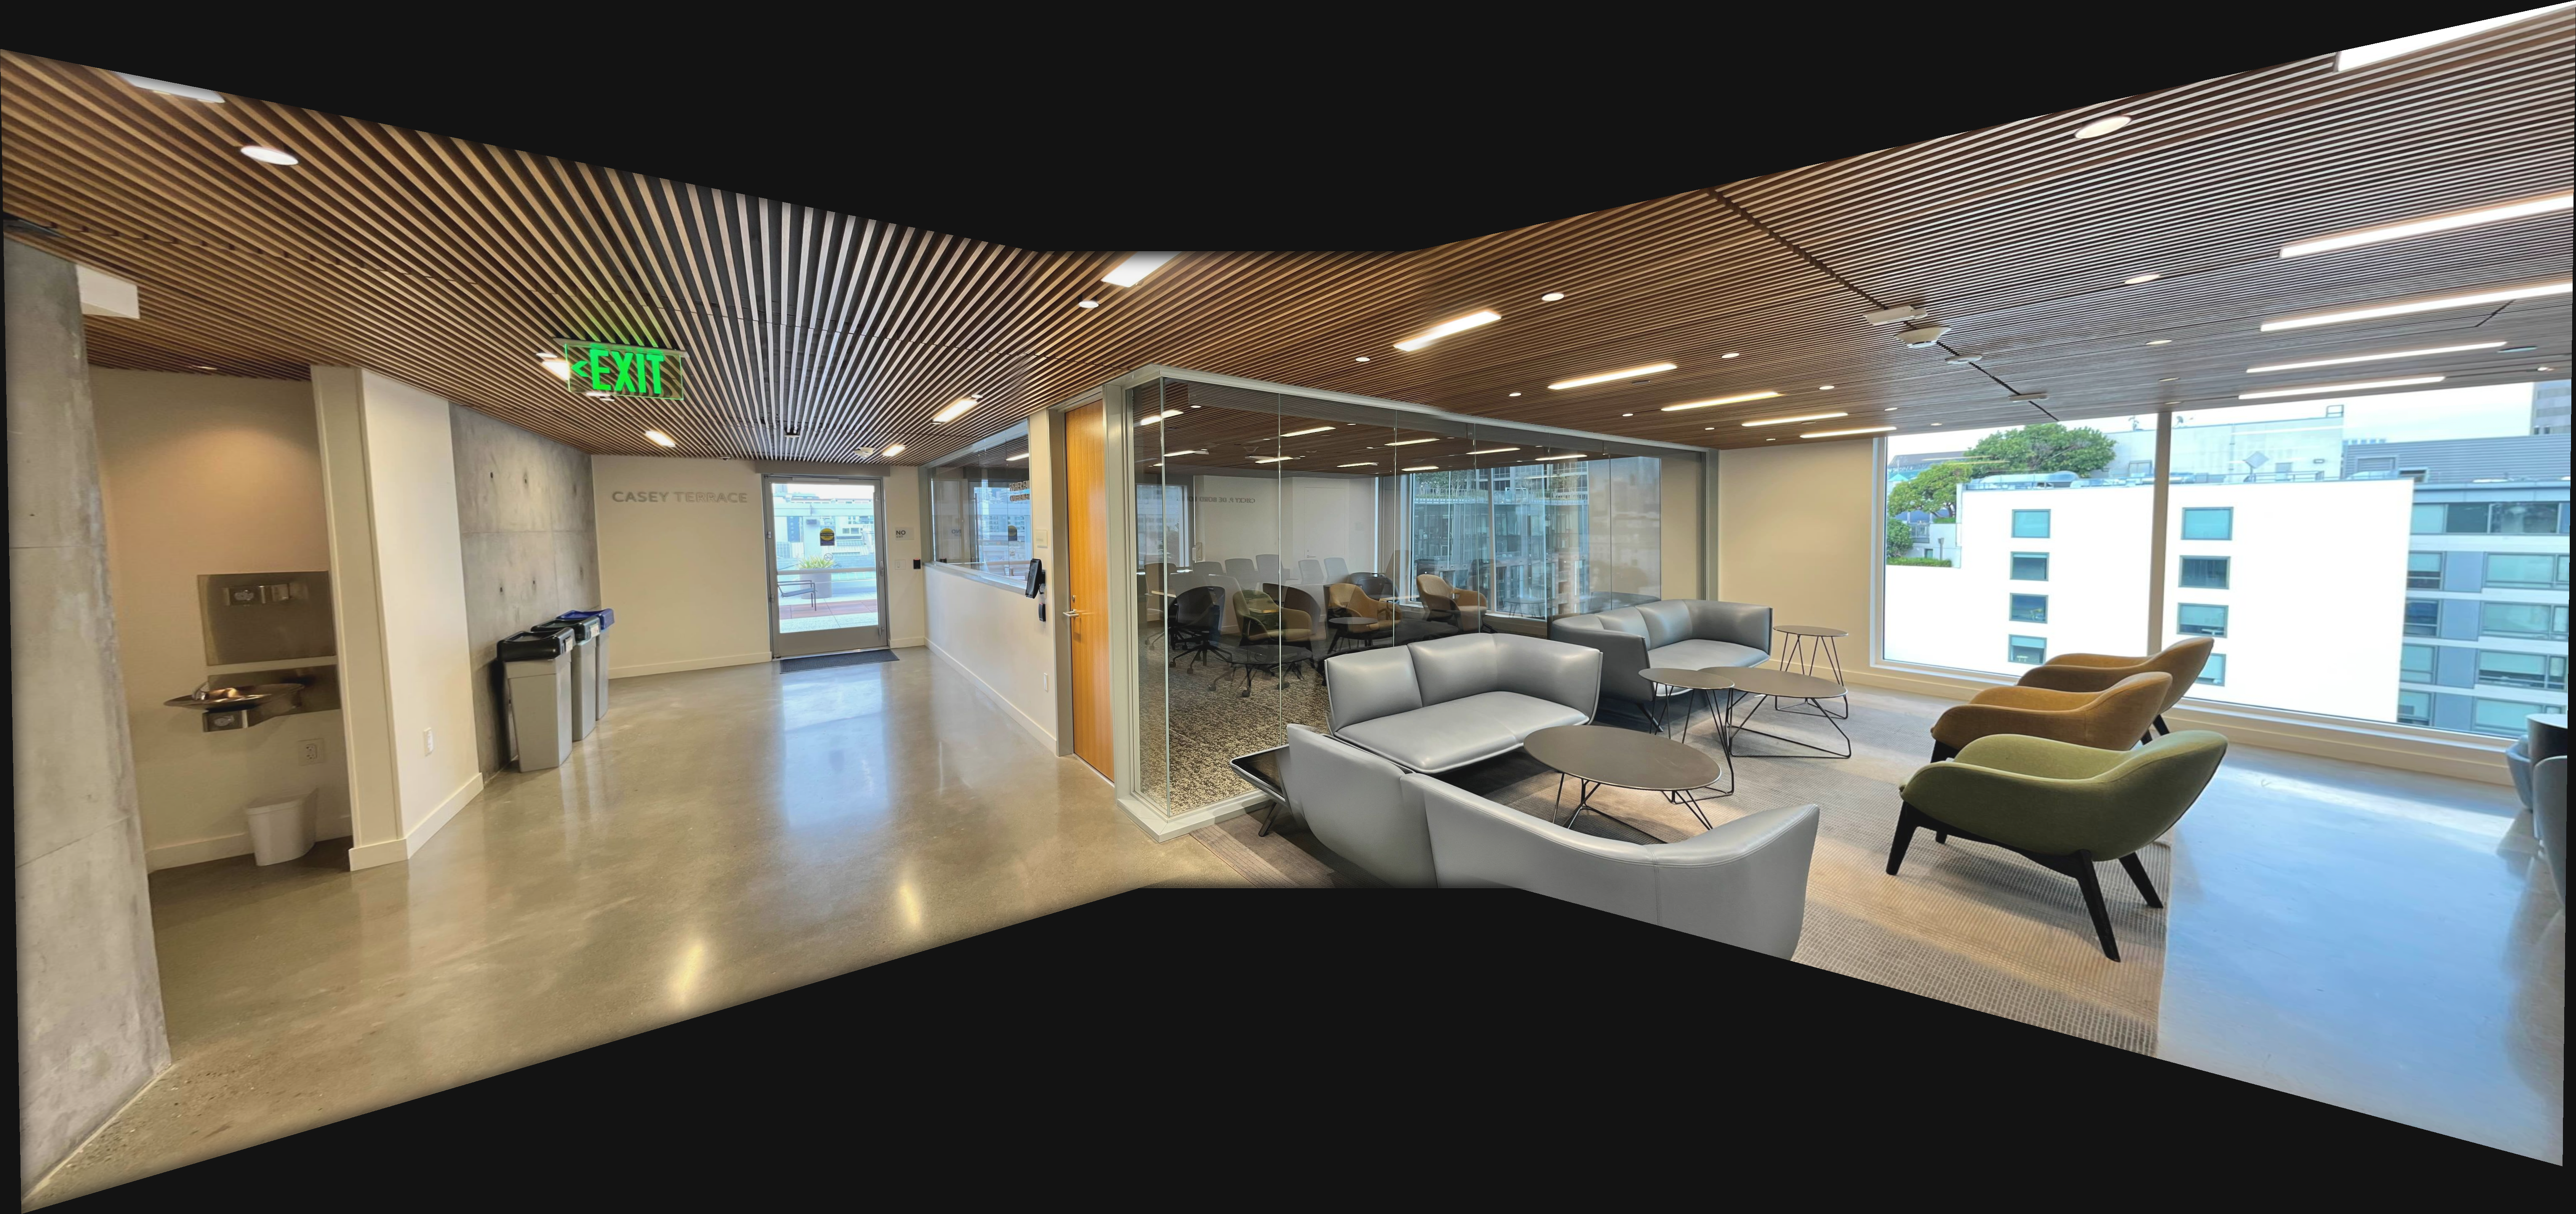
The automatic feature panorama looks quite similar to the manual feature one, with some slight misalignments in the front sofa still (on the left side instead of in front) as well as in the alignment of the roof and ceiling lights.